Wondering how to carve a spear? Carving a spear is much easier than it sounds and does not require fancy equipment. The most important thing is that you need sharp tools – you’ll need some of those because you’ll probably break a few while learning this skill.
So before you start the rest of the project below, find a way to make your own spearhead. You can do this by sharpening a chisel to make a sharp point or by using a stone or broken glass.
Tools and Materials Required
1) A Carving Knife or Spear Tip
2) A Belt sander
3) Hammer/Mallet
4) Metal file (optional but helpful)
5) Paintbrush (small and medium sizes)
6) Water-based paint in a color of your choice. For this example, you will use brown. You can use any color you like, but be aware that different colors absorb light differently – so what looks white in a bright room may not appear well when you go outside under natural lighting.
Choosing the wood
- For your first attempt, I’d recommend something relatively lightweight to start with.
- You’ll need a good amount of wood to carve the shaft.
- Wood that is too hard or too brittle will make it harder to carve and likely snap.
- Find a branch or stick that isn’t too thick for your hands to hold and is long enough to reach the target.
Draw a basic shape for your spear
- Depending on the size of your target, there are different shapes for different effects.
- The point of impact is the center of gravity, so you’ll want to place half of your weight there if possible.
- Think about how you will use the spear and select a shape that will give you range, speed, and force.
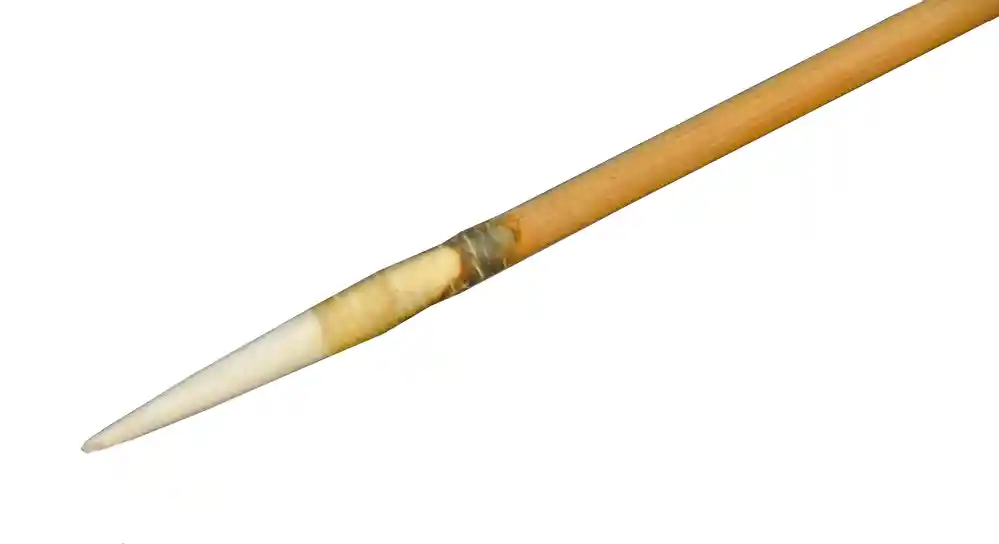
- All spears have front ends with fine edges, so that’s where we will start by tracing a new shape for our tip.
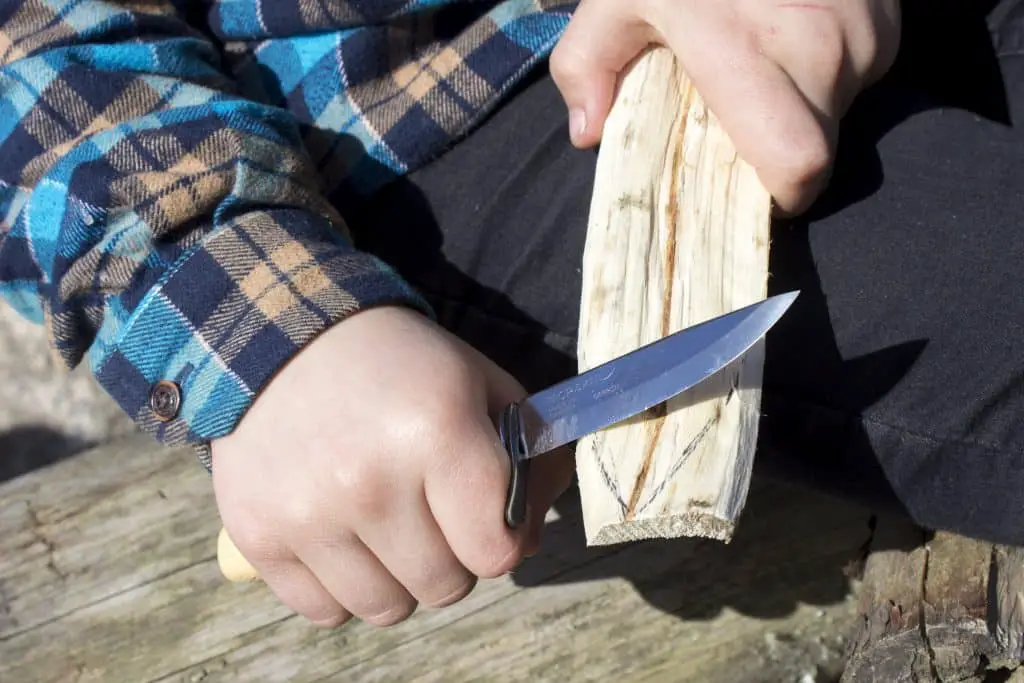
Carve away the unwanted wood
- Take a look at your tracing to get an idea of how much wood you need to remove.
- If you are unhappy with the shape, don’t worry – it’s easy to cut a new one and then scrape off what you don’t want.
- A belt sander is a handy tool for quickly removing large surface area. The grip is simple and helps you work at an even pace.
Grinding the shaft
- If you’re using a stone, wear gloves – your skin will take some damage while you grind.
- Start with a flat surface on your woodblock and place the chisel (or broken glass) on top of it.
- With the sharp edge of the chisel facing towards you, strike it with the hammer.
- Continue striking until you’ve created a nice, flat surface on the wood.
- Note: The hammer and chisel can fly apart if you do this too quickly. It’s essential to take your time when doing this step, so don’t rush or try to force it.
- Finish making your shaft by sanding it down with the belt sander. This will help make it smooth enough for your hand to fit comfortably.
Carving the tip
- If you haven’t already, trace the base of your spear’s tip.
- Do this by simply making a mark and using the “X” shaped cutout to guide yourself along with the wood.
- Be sure to cut away any excess around the “X,” as this shape will be helpful later on when smoothing it out.
- Please note: This shape is not required for a working spear tip.
Finishing
- The paint will help protect your spear from damage, so make sure the whole shaft is coated.
- Let it dry for a full 24 hours before attempting to use it.
- While this step isn’t essential, the paint will help you keep your spear straight when throwing it. Because of this, you’ll want to ensure that the tip looks sharp when you’re done coloring it.
- You can remove the excess wood on the tip using a metal file.
Now that you know how to whittle a spear. You may also be interested in our post about How to Carve a Pencil.
Video Resources

- Grain and Sheen: Teak Oil versus Danish Oil Uncovered - January 10, 2024
- The Cherry on Top: Crafting the Perfect Cutting Board - January 9, 2024
- Polyurethane Water-Based vs Oil-Based: Choosing the Right Finish - January 8, 2024