Wondering how to carve an axe handle? Carving an axe handle is the most satisfying woodworking project you can tackle. If you want to save money and let the unique grain of each new piece of wood you find be the focus of your axe handle, then carving an axe handle is for you. Once you have the tools you need, you’ll find it’s a pretty straightforward process.
If you are new to woodworking, carving an axe handle might intimidate you. The process may seem complicated, but it’s not so bad. You can get started immediately if you have a sharp chisel, a mallet, and a sharp knife. There are a few basic concepts to remember when carving your stem, and you’ll soon find that carving a stem is easier than you might think.
Tools to be used
You will need a few essential tools to carve an axe handle. These include:
A sharp chisel. The handle’s size will determine the size of the chisel, but it should be about 4 1/2″ long and .125″ thick in the center. You can buy a premade chisel from your local lumberyard or find one on eBay or similar sites.
See our review of the best wood carving chisels.
A mallet. You’ll use the mallet to strike the chisel and split the wood. It needs to be large enough to get plenty of weight, but it shouldn’t be so big that your handle will feel cumbersome when you swing it into a tree. An excellent wooden mallet will serve well for years.
A sharp knife. All you’ll need along with your chisel is a sharp knife. You can get a sharpening stone for your knife, but you don’t need it.
Materials to be used:
Wood. Anything from round wood to flat wood will work as the axe handle. We chose the flat piece of hardwood from a fallen tree that was easily accessible. It was about 40″ long and 1/2″ thick, and we got it for free. Most places charge you money for the use of fallen trees.
Carving your own handle gives you the benefit of making it to your specifications. You get to create a unique handle, and this kind of originality isn’t something you’ll find off the shelf.
You want the wood you used to be hardwood. Hardwoods are harder and more durable and therefore make excellent axe handles. Softwood, such as pine, will give way as you carve your handle.
Sandpaper. You can use fine-grit sandpaper to smooth your handle, but you won’t need it. As you carve your handle, you’ll end up smoothing it out quite a bit. Our final axe handle was smooth enough that we didn’t even sand it before we dyed it.
The dye of your choice. Some people believe that dyeing an axe handle will lessen its strength, but this isn’t the case. If you have a wood-burning kit, you can use that to get the design you want without any dye. However, if we were going for a purely functional axe handle, we wouldn’t be so concerned about its aesthetic appeal.
How to carve an axe handle step by step
The first thing you should do is think about how you want your axe to look. You don’t need to make a drawing or anything like that, but rather think of how it should look and go from there. After this, decide if you prefer your handle to be ergonomic. Some people want their axes to have a comfortable shape that they can easily hold in one hand, no matter their size or physical condition. If you’re going to make an ergonomic handle, we recommend doing so before you start carving it into shape.
Once you have your design in mind, see down the tree to the length you’ll need. You’ll have to measure the length of your axe head and then subtract a few inches at least.
After your tree is cut down and has some time to air out, take a careful look at the wood’s grain. We chose a wavy grain with an appealing pattern when you look at it from different angles. Look for patterns that will make up beautiful designs when they’re carved out.
Take your sharp chisel and get to work. You’ll want to start by splitting out a thin strip of wood that will become the handle’s taper.
You’ll want to take minor cuts that are evenly spaced along the length of your handle, and keep in mind that you should carve down the side of your handle until it gets cut out more or less completely. Once you get to the point where the handle is cut out almost completely, you’ll have to sharpen up your chisel. You can do this by hitting it on some sharp rocks or a piece of bone or metal that has been pounded into shape.
After sharpening, take your mallet and pound the chisel into the wet wood to split it open. Be careful not to enlarge your handle too much while splitting it into a comfortable handle size. Once your handle is split out, you’ll then have to use your chisel to remove more wood until the structure feels comfortable in your hand. This is where you can make your axe handle as ergonomic as you want.
Your next step will be to sand down the handle a bit so that it feels even more comfortable in your hand. However, we didn’t do this step, and we found that having some wood grains still sticking out felt good in our hands while we swung our axe down on logs. Once you’ve finished shaping the handle, you can begin to dye it. We used permanent black ink because we wanted our axe handle to stand up to the elements outside while remaining in top shape. However, if your axe isn’t meant for practical purposes, you may consider using a different dye type that won’t handle water as much.
Once our axe was dyed, we had to sand down the handle more to give it a smooth finish. We noticed that some of the dye had come off in some places, so we had to take the time to clean up those spots. After you’re done, your handle should look something like this:
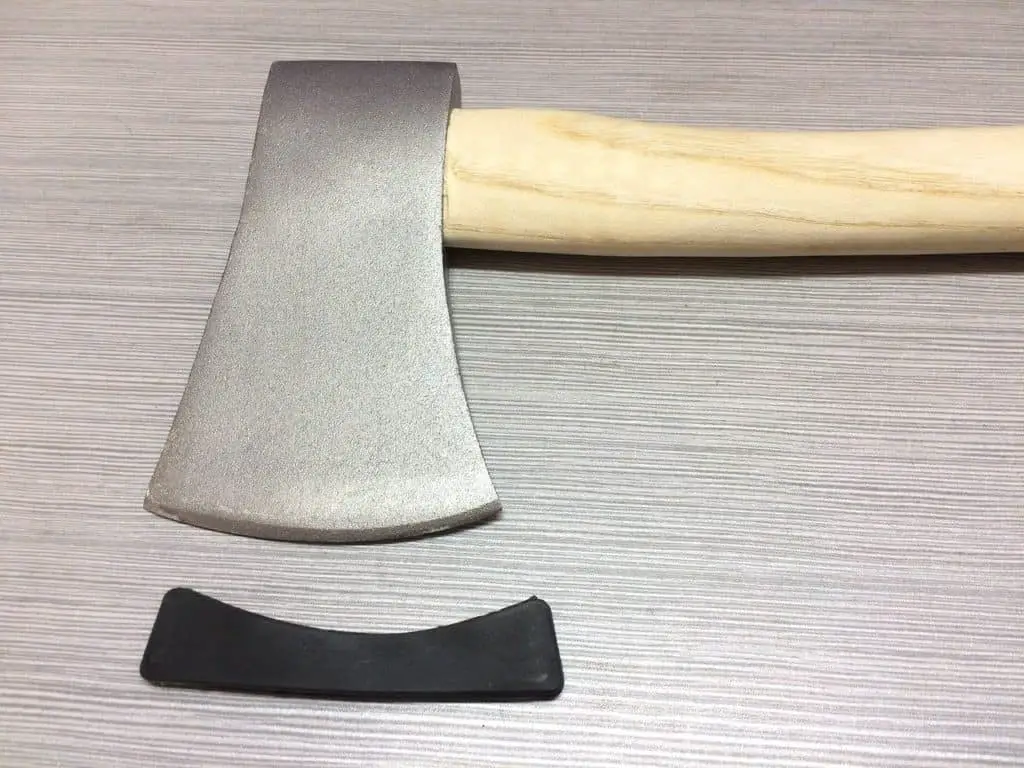
Now you can paint the rest of your axe head with your choice of color.
Tips to make it easier
- Start with the most straightforward design you can. We started with a simple axe, but another option might be a more complex axe with an elaborate handle taper.
- Think objectively about the tools you’re going to use. We thought about how we could accomplish our desired shape with the tools we had already available. If you don’t have the right tools, you might want to consider your options before starting your project. -Have a good idea of what you’re trying to do before starting on your handle.
- Ensure that the area you’re cutting out for your handle doesn’t need to be there because it will just get in the way and take away from the final product.
- If you’re about to start an intricate project, plan with dimensions for how everything will come together before getting started.
- Start with a simple shape, and add details as time goes on.
Finishing the handle
As we were finishing our handle, we noticed that it was a little difficult to sand down. We found that it wasn’t essential to sand every single pointy edge.
We decided to take a few minutes and smooth the handle with our hand planes. After you’re done “finishing” your axe, you should have something like this:
Your handle should now be as smooth as possible without risking cracking your axe head. You can also use carving axe handle patterns.
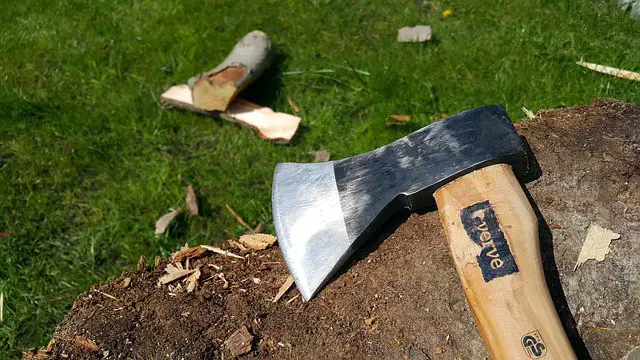
Tips on Choosing the right blade
As you can see from the examples given below, an ax’s blade can vary in shape or size. However, each has its pros and cons.
The curved blade is great for chopping wood and working with smaller logs.
The straight-sided blade is ideal for felling larger trees and cutting them up to manageable sizes.
When choosing your axe, be sure to take into consideration what you’ll be using it for. Unless you have a specific use for your axe, buying the most appropriate type for the job is best.
References
Woods, Mark. The Field Guide to Edged Tools: Recognizing and Interpreting Their Origins. London: Viking, 2005. Print.
Worby, Robert and Richard Smith. “The History of the Axe” Past Horizons www.pasthorizons.com/articles/the-history-of-the-axe
http://www.veritasaxesmiths.com/Edged%20Tools/Axe%20History%20and%20Uses.

- Grain and Sheen: Teak Oil versus Danish Oil Uncovered - January 10, 2024
- The Cherry on Top: Crafting the Perfect Cutting Board - January 9, 2024
- Polyurethane Water-Based vs Oil-Based: Choosing the Right Finish - January 8, 2024
