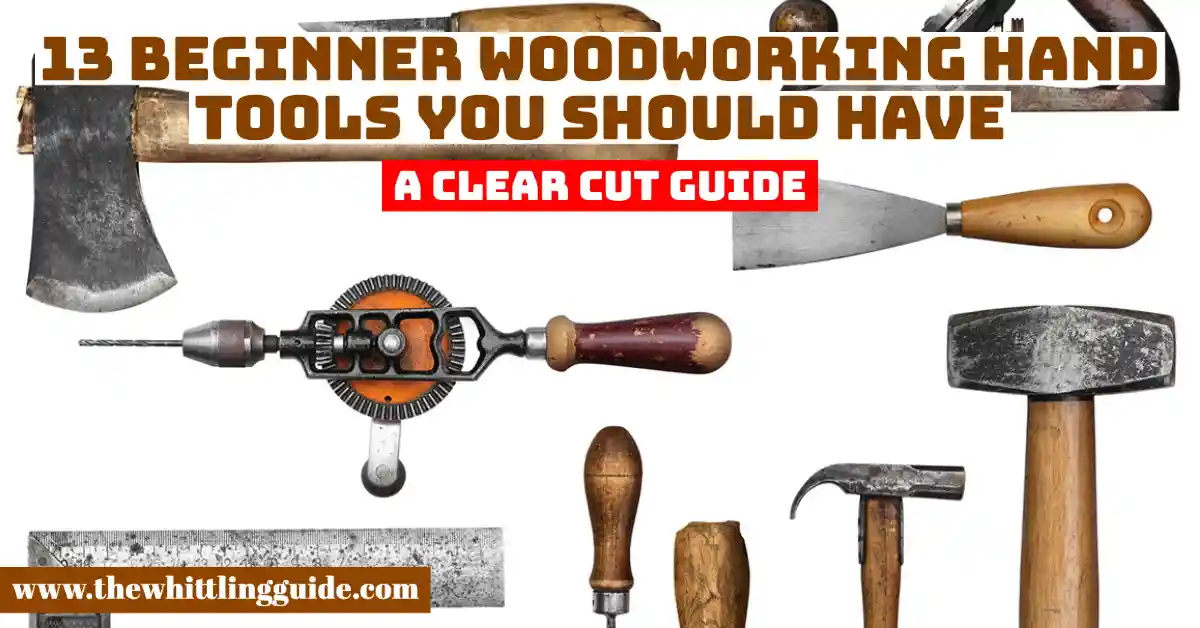
Woodworking hand tools for beginners
The first step is to get some basic hand tools if a beginner wants to get into woodworking. While there are many fun woodworking projects you can do with basic tools, the real joy of this hobby is learning how to use them in new ways. Once you have a small set of basic tools, you can move on to more advanced tools and find that you can make amazing things.
Many new hand tools are on the market today, some of which are quite good. If you want to get started with hand tools, we recommend that you get a set of hand tools for the basics. These are the essential tools you’ll need to start woodworking.
Bench Chisel Set
Bench chisels are a type of chisel you should buy first in traditional woodworking. They are multi-functional woodworking chisels used for cutting and paring woods, and you are allowed to shape them as bevel edges.
Since they come with different handle materials, choose handles that give you balance. They have to feel comfortable. Although affordable, plastic handles can be heavy and uncomfortable, and a wooden handle does not break easily.
Hand Planes
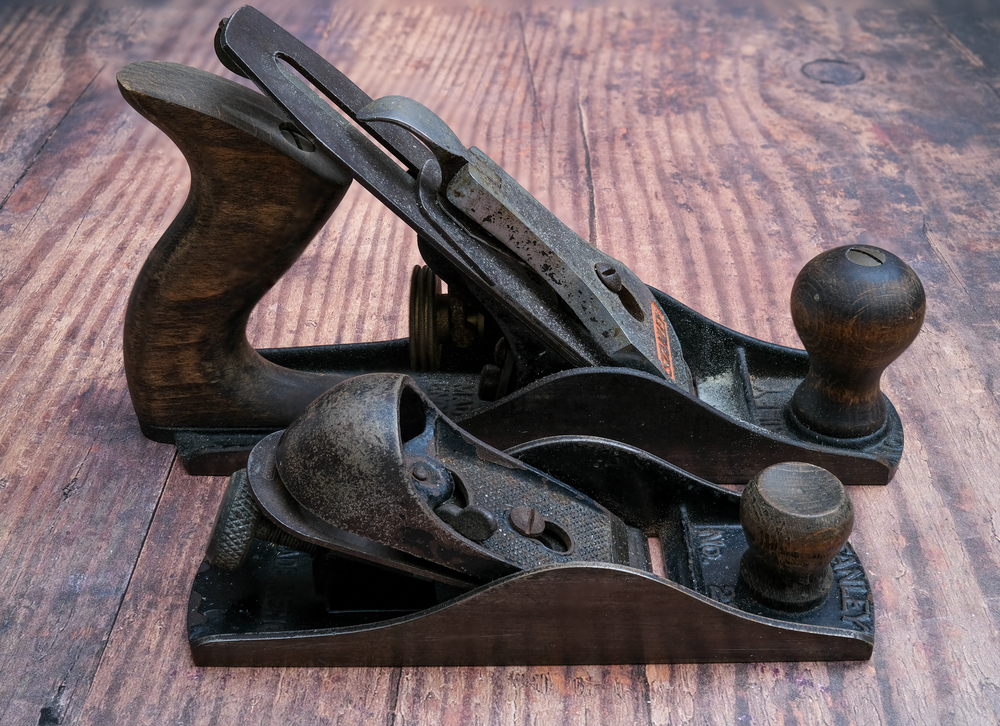
Hand planes are smooth tools that operate from an angle. The tool allows you to flatten, smoothen and shape a furniture-making board. Multiple models differ in shape, size, and materials. Hand plane bodies are wood and divided into three categories: the bench, joinery, and molding planes.
Miter Box and Miter Saw
A miter saw is a handsaw or backsaw with a reinforced spine to keep the blade rigid when cutting. It comes with a helping tool, and that is the miter box. A miter box is a wooden tool with three sides, and the two sides are open to insert your wood piece.
The vertical slots allow the wood to be at 45 degrees. Some miter boxes have adjustable tables so that you cut the angle of your choice, and they are ideal for craftwork.
Coping Saw
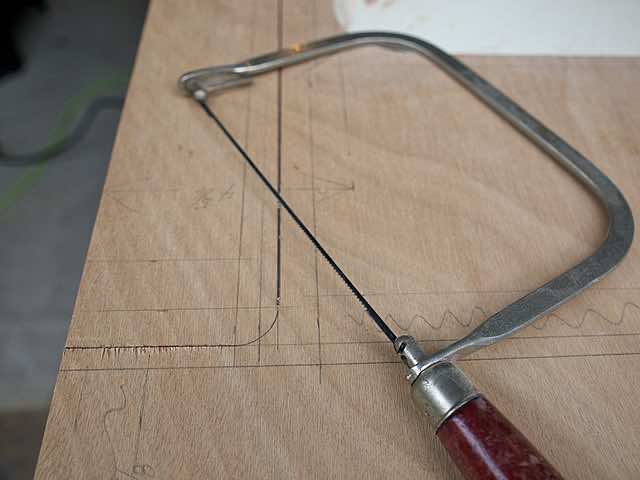
A coping saw is a cutting tool for shaping or molding holes. As kuchen as it is an easy tool, you need guidance. Coping joints are for installing molding. The coping saw ensures you cope with joints until they fit perfectly in corners. It comes with a thin blade for cutting curves and intricate designs. The tool is intimating; hence steps are to be followed.
Steps
- Install the Blade
- Secure Material
- Trace and Cut
- Continue Sawing
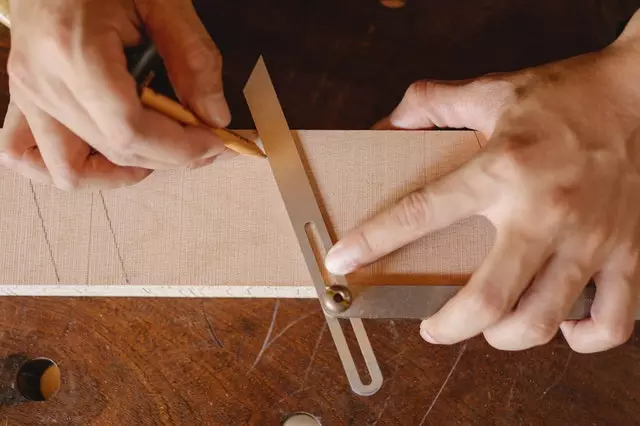
Sliding Bevel
A sliding bevel is a tool for accurate and precise woodwork. It comes either as the beam or the stock. They move on an axis, fixed using a wingnut. The wingnut makes the transfer of an accurate angle marking possible, and the beam is from tempered spring steel. It varies in size. You are allowed to tighten the wing nut by hand or screwdriver. These are effective locking systems.
Marking Gauge
A marking gauge substitutes a pencil. It partakes in joinery work such as cutting dovetails and mortise joints. It makes clean and precise cuts. Marking gauges differ in the style of cutting tips. Wheel cutters make clean lines and are easy to maneuver on a corner.
It is a better tool for repeating dimension lines. You transfer a scribed line to other trued faces or edges on a workpiece with a striking knife and a square.
Using Marking Gauges
Hold the marking gauge with a light grip and let the sharp edge or point cut the line. Set the point or knife long enough to mark; apply lateral pressure to keep the fence against the wood.
Ride the gauge on the whole edge, not just the piece’s corner. Make it a habit to make a firm pass to create a deep enough line. That is an error leading to inaccuracy. Your goal should be on gauge and not gouge.
Scribing is one pass, then two prevents making two lines due to slight movement in the gauge during the second pass. Sharpen the tool when dull for effectiveness and efficiency.
Mortise Chisel
Mortise chisel is a cutting tool that works along the grain. As you start operating the machine, face the bevel down and tap the chisel at the back to remove thin slices. Raise and lower the handle to control the depth. Start by outlining the area with a sharp utility knife.
Hand saws
Handsaws are called panel saws and cut pieces of wood into different shapes. They have sharp points harder than wood, and the hand saw has one flat, sharp edge. The cuts are used to join pieces together and carve a wooden object.
Mallet
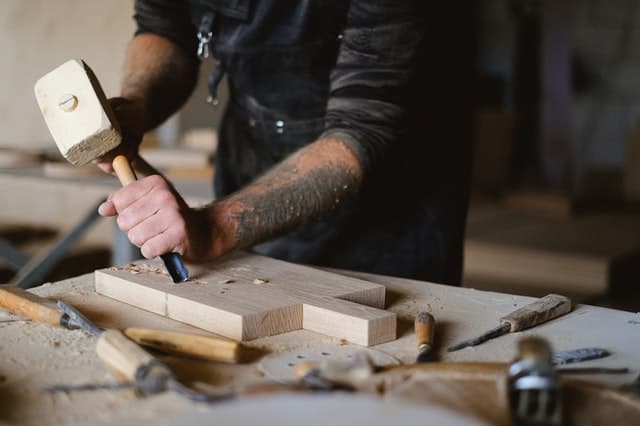
A mallet is a necessary wood tool you should get as soon as you set up a workshop. There is a wide range of mallets, including affordable ones for low-budget users. Each hammer works on certain materials, and using the wrong hammer spoils your workpiece.
However, do not focus much on the price but also quality. Wooden mallets drive chisels and dowels, and it does not deform the end of a metal tool and gives the chisel better control.
Measuring tape or Ruler
A measuring gape substitutes a folding rule. It is ideal for rough measurements and lumber yards since it is long enough. However, using a tape measure attracts mistakes. The metal hook at the end of the tape measure wobbles, thereby tempering with accuracy.
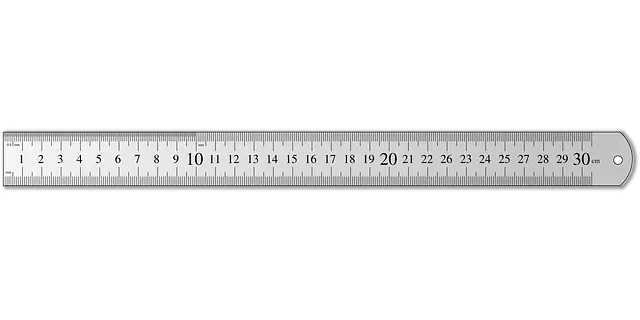
Since buying two tape measures requires extra costs, choose one with the length you can use on your projects. A shorter tape measure is ideal for woodworking applications; the standard length is 12inches. A tape measure extending up to 25 inches for carpentry is perfect.
Level
A wood level is a specific type of spirit level. It indicates how level or how parallel a surface is to the earth. In short, it is a measuring tool used by a woodworker to check if a project is a level. Regardless of the brand, the use and features of levels are the same. The degree of accuracy known as the best spirit level should be within or minus 0.5 millimeters/meter or 0.005 inches/inch, or 0.029 degrees.
Pliers
Pliers are woodworking tools that grip objects firmly so they can be turned or bent. It is a handy tool kept in a toolbox. There are multiple types of pliers for a variety of jobs. They have parallel handles, and a pivot on the handles join. The parallel jaws grasp the object. Determine which type of pliers is for the job and make adjustments needed
Woodworking Clamps
Woodworking clamps secure your material as you are working on any woodworking tool. It holds furniture together in two different ways. For temporary clamps, use the clamps and for permanent clamping, use wood glue, nails, and screws.
Consider quality and your needs before you decide on the clamps. When you are not focused enough, you will be puzzled about the type of clamps you want. Different clamps are for different situations.
As soon as you plan what you want to build, figure out which clamps to use. Repeat the same procedure for your next project. However, if your current project requires more than one clamping system, do not hesitate to buy.

- Grain and Sheen: Teak Oil versus Danish Oil Uncovered - January 10, 2024
- The Cherry on Top: Crafting the Perfect Cutting Board - January 9, 2024
- Polyurethane Water-Based vs Oil-Based: Choosing the Right Finish - January 8, 2024