How to set the frog on a hand plane
The lateral and depth adjustment mechanisms are two of the frog’s principal functions as a separate organism from the sole. The throat of the frog may close and open on its own. The frog’s setting controls the breadth of the mouth in front of the blade.
Set the frog’s mouth to the front (narrow) for fine work and the back (broad) for rough work. If the shavings get caught in the mouth, it’s because the mouth is too small for the shaving thickness. It is either to broaden it or adjust the blade for a thinner shaving. Set the mouth smaller if you’re getting too much tear-out.
To access the screws that keep the frog in place, you’ll need to remove the frog from the plane. To advance or retreat the frog, loosen them and crank the adjuster screw on the frog (at the back bottom of the frog near the tote). Remember to tighten the screws that hold the frog against the bed.
How to install the blade in the hand plane
It’s critical to use the proper blade size for your hand planer. Blades feature a notch that lines up with the slot on the hand plane’s drum. Place the first blade in the notch and slide it in slowly. Tighten the two nuts that keep the blade very loosely, but do not entirely tighten them yet.
- Line up the blade
Hold the blade in place and line it properly with your screwdriver so that it does not rub against the planer’s sides. Tighten the bolts entirely after you’re sure the blade is in the appropriate place for optimal performance.
Using a screwdriver, carefully slide the blade back into place. Blades have notches on them that aid in aligning them with the drum’s slot.
Carefully align the notch and slip the blade into position. To avoid rubbing against the side of the hand planer, make sure the blade is centered. Tighten the bolt using a flat head screwdriver once you appropriately place the blade.
Hand plane basics
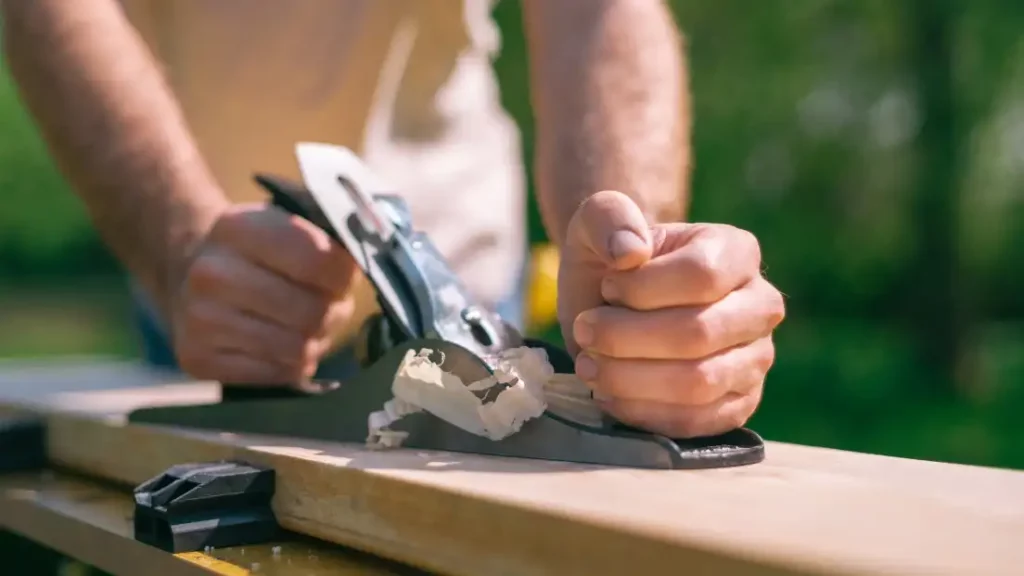
A hand plane works by slicing small layers (shavings or chips) from a piece of wood as it pushes along or across it. And this decreases the size of the wood, levels it, applies a smooth finish to the surface, or cuts a recess for joint-making (joining pieces of wood together). Handplanes come in bevel orientation, several planes to use, and body styles.
The iron lies in the plane is called bevel orientation: a low angle bevel-up bench plane and a bevel-down bench plane. The iron is positioned in the bevel-up plane with the bevel facing up. The iron fist in the plane with the bevel pointing down in the bevel-down plane.
Except for early planes, typical bevel-down planes have a chip breaker, commonly known as a double iron, positioned on the back of the iron. The chip breaker is sometimes mistaken for the cutting angle. The chipbreaker’s job is to curl the chip upward as lifted off the wood by the cutting edge.
The term “number of planes” alludes to the fact that each of the three functions of roughing, flattening, and smoothing has its plane (versus using a single, versatile plane for all the functions, with varying irons and setups). Smoother, jack, and jointer planes (front to back) make up a three-plane configuration like the one seen above; each has a distinct role. Jack planes, especially bevel-up planes, are frequently utilized for many purposes.
Wooden or metal planes, as well as overall design, are referred to as body type. A historical all-wooden plane, a transitional metal and wooden plane, a modern wooden plane, and two metal-bodied planes are available. An infill aircraft is another type of metal-bodied plane. Each one has its unique feel and balance. As proven by the work that has been done with them, they all work.
When driving, switching between planes is similar to switching between different automobiles. As you progress from one to the next, you’ll have to relearn some skills. Make sure that the style you choose keeps its iron well. Using a plane that slips and won’t retain its position is highly inconvenient.
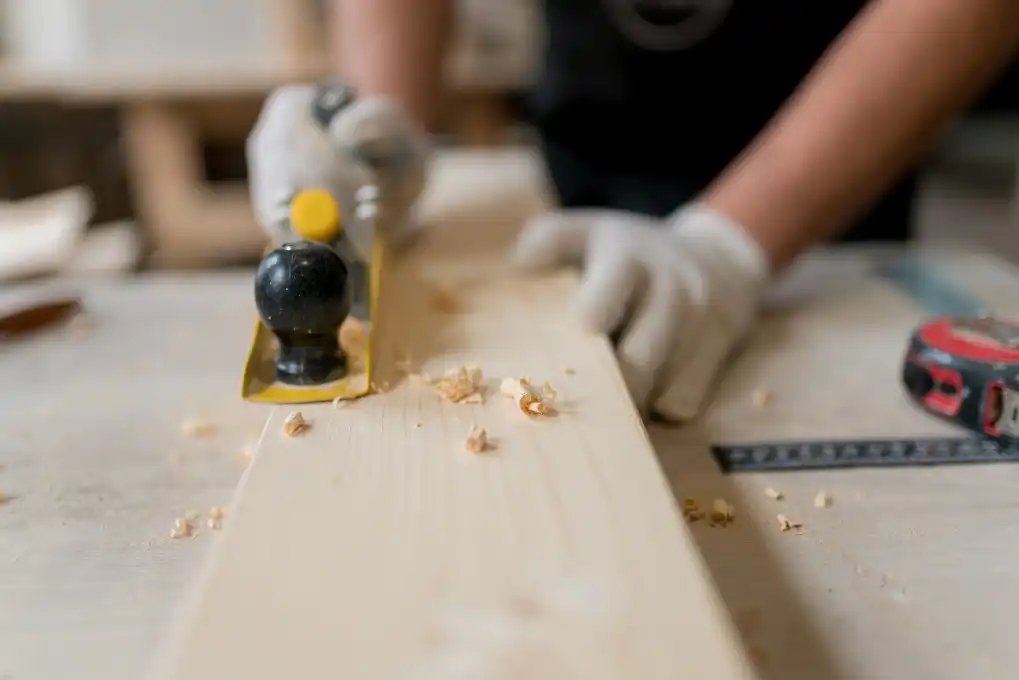
Using a hand plane
Using a hand plane: a solidly attached work material, a sharp plane blade, driving the plane in the appropriate direction, and firm, decisive movements are necessary for effective hand plane use. Because planes are prone to slipping, constantly push the plane away from you and never put your fingers in front of the plane.
- Sharpen the Plane Blade
- Position the Plane Blade
- Secure the Work Material
- Consider the Grain
- Push the Plane Forward
How to adjust a Stanley hand plane
Hold your plane upside down if you feel it’s out of alignment. As if you were looking down the barrel of a gun, sight down the length of the sole. Only a faint black line where the plane iron extends down ever so slightly past the mouth of the plane should break up the breadth of the sole.
If you can’t see the plane iron, it’s retracted into the plane’s body and won’t cut anything. If the plane iron protrudes too far, the plane will be difficult to maneuver and will quickly become clogged with thick shavings or even chunks of wood. The blade is misaligned if the line isn’t even from side to side, and its corners will gouge into your workpieces.
Double blades are standard on larger planes. The second iron helps induce the shaving plane from the wood to curl up and out of the plane’s throat by keeping the cutting iron firm. The double iron’s position concerning the first can be adjusted, allowing you to control the thickness of the shavings. The second iron usually has a sixteenth of an inch behind the cutting iron.
Hand plane not shaving
After a few successful passes, the plane may cease cutting or take a thinner, less uniform shave. The issue could be a buildup of shavings in the mouth or blowback. Sharpening the iron could be part of the solution or possibly the entire solution. The upward movement of the blade caused by free play in the depth adjustment mechanism is known as backlash.
When the mouth hole is too tiny, or the bottom edge of the chip breaker – if the plane has one – does not fit entirely against the iron, the plane will clog. Widen the chip breaker’s mouth opening or flatten the chip breaker’s edge.
- Pyrography Techniques for Beginners: Textures and Shading - January 23, 2024
- Troubleshooting Jointer Issues: Why is Your Jointer Not Flattening Wood? - October 11, 2023
- Unlocking the Secrets of Jointing to Increase Width - September 29, 2023