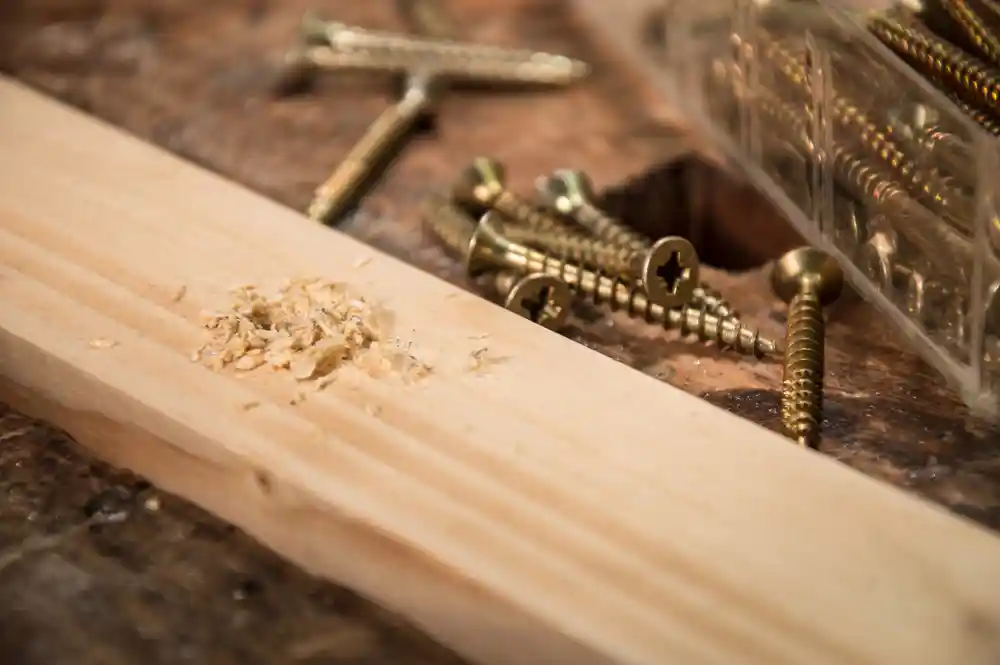
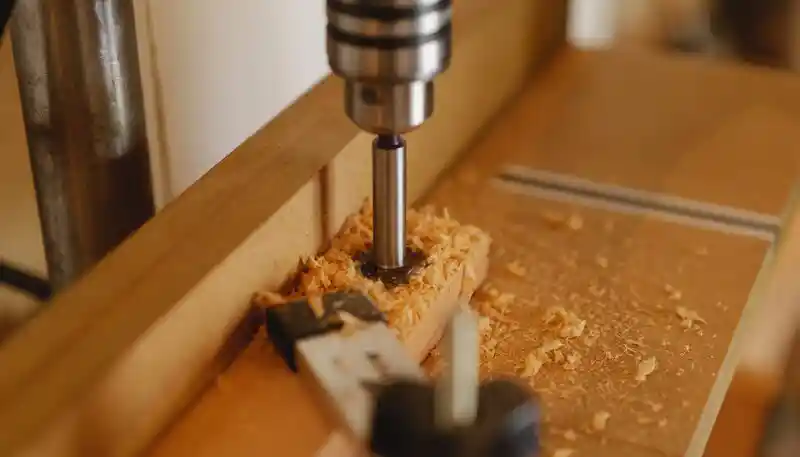
Do you have a screw hole that is too big? Sometimes that just happens. In many cases, I have made larger screw holes and had to look for ways to fix them. Use the tools available before deciding on a convenient method. This article will show you how to repair a larger screw hole.
To avoid the mess, predrill the hole before countersinking the screw. The mistake has nothing to do with the drilling tool or the user, but the wood fibers around the screw can tear out over time. This hole is called a frayed screw hole.
List of things that you may need to use:
- Tape measure
- Screw
- Hardwoods plug
- Wood glue
Tape measure
Use the tape measure to measure the hole for a missing screw and be accurate. Start at the widest part and measure down to the closest millimeter. Add a millimeter to ensure the new screw has enough grip.
If you have the old screw, you can measure it for length or get a toothpick or a bamboo skewer to fit into the screw hole. Make a mark on your stick and measure it.

Screw
Find the right-sized screw. You should know how to read screw sizes. It does not matter if you are not an experienced woodworker. Wood screws use two numbers to measure their length and diameter. Note that sheet metal screws are a little tricky because their size includes a threads-per-inch measurement.
Estimate the length of your project since you already know how long the old screw is. Get the right length screw for your project.
A screw should be three times as long as the thickness of the object you are fastening (homesteady.com). Use a screw that has the appropriate diameter or gauge. A gauge is a measure of the diameter measured above the threads. When you are not certain whether the screws are long enough to secure a thick object, use break-away screws. These screws feature tips that break away in ¼-inch increments to match your needs.
Use a Hardwood plug
Note it is more prone to cracking and chipping. That is why you should fill stripped holes more often in MDF or particleboard. A hardwood plug is more effective.
Glue
Fill the hole with glue and the plug or dowel. Allow the glue to cure for about 24 hours, then drill a pilot hole into the plug center, creating room for your new screw.
Step By Step Process.
Use filler to fill the screw hole steps
- Fill the hole with liquid using wood glue or Elmer’s glue. Use the wood glue with care since it is powerful. Note that it can be tough to recover if you use too much.
- Fill the hole with toothpicks, jamming them in until you fill the entire screw hole.
- Start afresh with your screw, re-drilling the hole. If you do not like sticking toothpicks on your wall, you can use liquid glue and insert a plastic anchor. Buy the pieces separately or together in a screw repair kit. The method is ideal for hanging small frames, whereas the toothpick trick is for hanging heavier things. The process is fast, easy, and affordable.
Relocate the screw hole
- You also have another option. Leave the spoiled hole and start fresh with a new one. It is an easy exercise that involves extra work, filling the old hole. You cannot just leave it like that but make a hole repair with some spackle.
- Allow the spackle to dry. You are allowed to re-drill pilot holes in a new area. Keep it above or below, and keep the appearance that the object is in the same space, but you can move the hole to the left or right.
- Using any direction, drill your new hole an inch away from the old one.
- Make sure your spackle has dried. Sand, smooth, and repaint. For a flawless surface, continue with the spackling.
Use wooden dowels
- Drill out the hole with a drill bit that is the exact diameter or smaller than the wooden dowel you are planning to use.
- Dip the dowel into some wood glue and tap it into the hole. Wait for the wood glue to set.
- Cut the dowel using a saw and drill a small pilot into it before driving the screw.
Use larger screws
If you want to keep the hole without re-filing it or using anchors, use a larger screw. The process is demanding. A larger screw instead of filling the hole comes with some advantages. It is more secure. A larger replacement screw is ideal for heavier objects or objects that must bear weight.
Use Nylon Cable Ties
Nylon cable ties are a substitute for rawl plugs. They are handy, especially the nylon cable ties.
- To use nylon cable ties to fix an oversized hole, cut off the length required and insert it into the hole, using more than one length of cable ties, depending on how much support is required.
- Once the hole is enough, drive the screw in. The screw hole does not need to be full. The screw cuts into the nylon, giving traction and grip. Avoid too much nylon to prevent shearing.
How Long it will take
It takes 3-5 minutes to fix a screw and 24 hours for the glue to set.
Expected Results
Wall plugs can be an excellent filler to plug the hole before redrilling. Your screws become more secure than before. Tighten, so the door hinge stops moving, or the drawer pull stays. The screws might not tighten.
Use the paper to fill the hole. You can use other tools like toothpicks. Use any tool you have that will last longer than paper. When considering what to put in the hole, try wood shims. Shims help even things out, and they are thin enough that you can easily cut them with a box cutter (mrhandyman.com).

Things to look out for
Before you fill in the hole, get the old screws out. That is easier because the screws will tighten and securely hold the two things together, but sometimes they might not come out.
Use a flathead screwdriver to unscrew. If that does not help the screw back out, use more force and pry the screw out. Try using different angles and techniques, but be gentle so that you do not bring more damage. You may have to break the screw off. Cut another hole the same size into a piece of scrap material.
Conclusion
In summation, fixing a screw hole that is too big can be a success or a mess depending on the information you have. If you have read the article above, I assume you have grasped all the possible methods you can use. Choose one that is convenient and easy for you. Some of the ideas and techniques would also work if you want to fill the gap under your door.
- Grain and Sheen: Teak Oil versus Danish Oil Uncovered - January 10, 2024
- The Cherry on Top: Crafting the Perfect Cutting Board - January 9, 2024
- Polyurethane Water-Based vs Oil-Based: Choosing the Right Finish - January 8, 2024