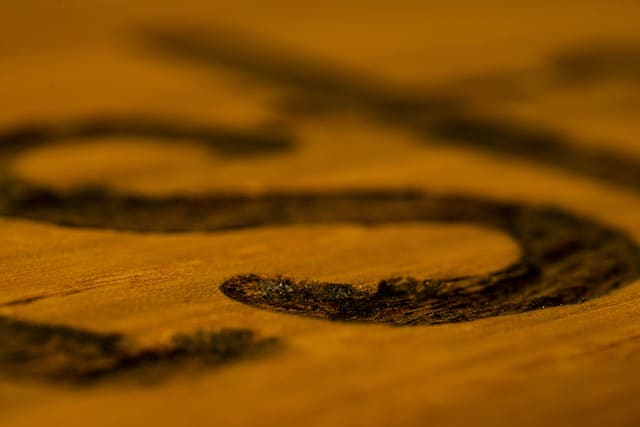
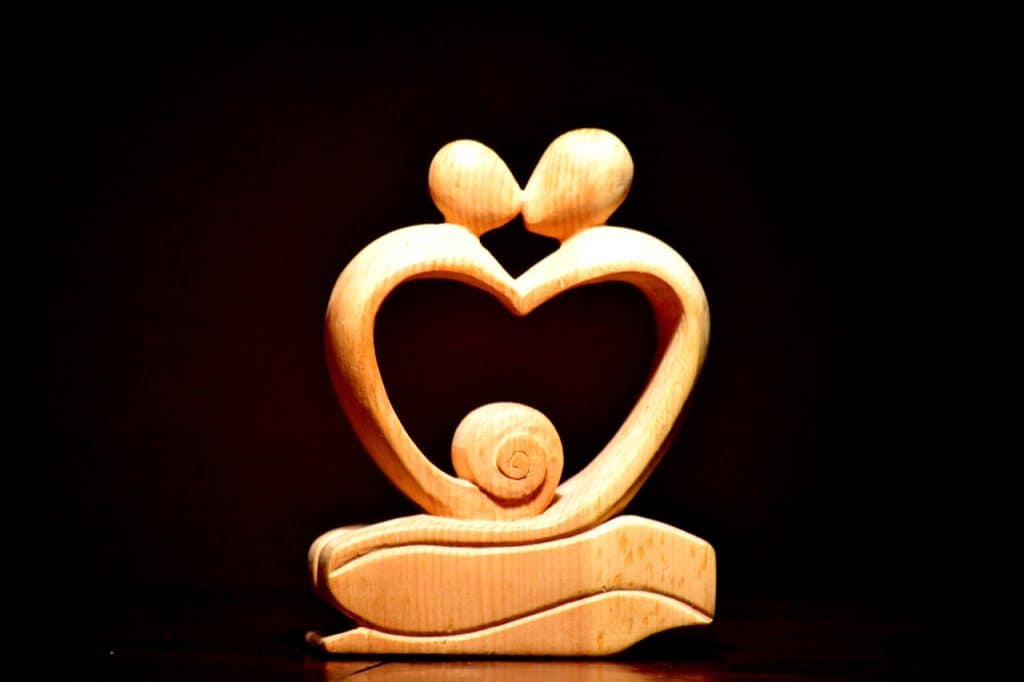
Some woodcarvers love to bring out texture and detail in the wood they carve. Others want a signature look to their work that no one else can beat. Whatever the reason, there are many ways to bring out the best in wood carving. This post will show you how to make a wood carving stand out.
Apply varnish
Choose a varnish of your choice that gives you your desired look. Varnish does not only seal the wood carving, but it makes the item beautiful. That involves keeping your item natural, making it lighter or darker. Varnish makes cleaning the carving easy, and that eases the maintenance process.
Original wood is excellent on a carving and becomes solid and outstanding with varnish. Some users think adding varnish to their carvings changes the color of the wood and the look, which is not the case. It does not completely cover the wood. Your option determines the outcome of your carving. The natural beauty of your wood is enhanced, and it becomes waterproof.
Add color
Add color by painting your wood carving with the color of your choice. Color adds life to your carving without overpowering the wood. Stain, oil paint, and acrylic paint enhance beauty without distorting the wood grain. Gather your materials and tools as you prepare your painting project.
There are types of wood that are great for carving. Visually, they are poor. When done carving and cleaning your item, prepare a finish that adds color. Make a colorful base coating using acrylic paints as you prepare to paint your carving. Three parts of your titanium must be with one part of raw sienna.
The mixture has to be similar to the original basswood color. Add drops of water to the mixture that fill deep grooves and tight joint lines. An ox-hair brush is ideal for painting, and the paint has to dry for one-half hour.
After an hour, test a small patch. If dry, add a second coat. Turn the item upside down so that the paint reaches areas it has missed. Add raw sienna to the remaining base-coat mixture and apply vertically on the surface. Allow the last coat to dry. Use titanium white for final streaking.
Apply Oil Stain
Apply polyurethane spray sealer when painting. Instructions on the gallon help you apply oil stain without messing with your work area and carving. Allow all the coats to dry before you add another one.
The wood stain gives you a wood grain with changing color tones, ranging from the base color of the carving on the highest parts to dark umber tones in the deepest crevices. Mix half of the linseed oil and one part of the umber oil paint. Make sure the mixture is thin. Use a staining brush to apply the sealer and remove the stain using a lint-free cloth. The wood stain has to dry overnight.
Add highlights
When you want to improve carvings with your eyes, make round dots of paint for the button. These are the highlight dots of the eyes or any other part of the item that is round in shape. Add highlights using a toothpick or stylus. Highlights are of a different color from the carving, and that adds beauty to the carving. They are noticeable and attract attention.
Cleaning
Clean your outdoor or indoor wood carving whenever there is dust, or make it a habit to dust daily. As dust piles up, the beauty of your carving fades away. Use a spotless cloth to remove dust from the carving. Furniture polish gives a shiny look to the carving. Brush the carved areas using a soft-bristled brush. Remove any grease using a soft cloth and mineral spirits.
Brush several times on carved areas using a feather duster to get rid of all the dirt. The duster also removes dust, but you still need to finish off with a cloth to eliminate dust traces. Fold your cloth as you make a corner so that it gets through crevices. You cannot use any liquid to clean your carving.
Maintain the best detergent and type of cloth so that the cleaning process will not affect the quality of the carving. When cleaning your home furniture, there are instances where it peels off, expands, or becomes pale. Too much liquid on wood causes that. The same applies to your carving; you may even witness some fat patches due to liquid absorption.
A wood cleaner would be ideal if you cannot follow the instructions when using water. It makes the carving shiny attractively. Below is a formula ideal for carving cleaning and the steps to follow.
Steps to clean the carving
- Mix two cups of water in a bowl.
- Add a tablespoon of white vinegar.
- Take a clean cloth and dip it in the formula.
- Wring it out so that it remains damp.
- Do not leave the cloth dripping.
- Wipe the carving using a damp cloth.
- Add drops of linseed oil, a popular finish for gunstock or petroleum jelly, on a dry cloth.
- Allow the carving to dry.
- Make sure there is enough ventilation in your work area.
Repair and maintenance
Always check on your wood carving so that if you need repairs, you go for them immediately. Cleaning and restoring cracked or scratched parts is part of the maintenance and repair. Prepare the affected area as you fill in cracks and fill the splits.
Get rid of extra filler as the wood is curing. Sand the area and apply a sealer and finish of your choice. A carving that stands out attracts a matching finish to the rest of the carving. It does not have to show that there is a patch. That looks untidy and ugly.
Keep the carving in a moisture area
Dryness damages your wood carving over time, so you should keep it in a moist area. The damage causes dullness on the surface and cracks on the wood surfaces. Add a humidifier to your room where you keep the carving. Keel the carving far away from a fireplace and heaters. That keeps the carving safe.
Keep away the carving from excessive light
Excessive or direct sunlight produces UV rays that damage your carving and carving, which is why there are shades or gazebos to keep your outdoor carvings.
Light results in a dull appearance of the carving, affecting your carving if it is dyed or colored. Natural light makes the carving glow, but too much of it destroys your carving. Low amounts of natural light keep your carving attractive. For your indoor carvings, use display lights in the room.
Avoid handling and touching the carving unnecessarily
Touching your wood carving leaves footprints on the items, which does not look nice. Handling and moving the wood item deteriorates the quality of the carving. Limit the movements of the carving and traffic. It quickly wears off. Oils from the skin pile up and result in the dirt. That envelops the beauty of your carving.

- Grain and Sheen: Teak Oil versus Danish Oil Uncovered - January 10, 2024
- The Cherry on Top: Crafting the Perfect Cutting Board - January 9, 2024
- Polyurethane Water-Based vs Oil-Based: Choosing the Right Finish - January 8, 2024