Can you sand plywood?
Sanding plywood is a technique for removing unwanted stains that show up in a workhouse. You will notice that this is quite common even with machines used in the workhouse. The method can sufficiently eliminate the stains and provide a smooth surface.

These defects include very simple and easy-to-obtain dents and gouges. Every asset you purchase has a sell-off value, and these marks work to depreciate your investment over time. You will not be able to get as much as you bought it for.
Plywood combines two wooden panels straightened out and then reduced to their lowest and flattest point. At first glance, you might not be able to tell directly that this is a piece of wood; however, when you have now stained or applied color to this plywood, it begins to take shape. Therefore, holders of this asset need to understand how this technique works to preserve the asset’s value.
Step by Step Process.
- Choosing the right sandpaper
You might think this is a great way to reduce the outlook of the overall product. You will find that the most overperforming grid you can get in terms of sandpaper is 180. Obtaining a piece of sandpaper that is finer than this will not give you any extra.
However, after a few coats and acceptable use of varnish, you can take this type of wood to another level. Its visual effect will be of its own raised periphery. Therefore, using the finest sandpaper is not necessarily as necessary.
It is knowing whether your end goal is to have less stained paint. If this is the motive, then you can use finer sandpaper. However, this is a rare case and will not often be necessary. What is important is that you complete the procedure.
- Clean off the dust.
It would be best if you took the time to clean the plywood before you begin the sanding process. This is because it is a standard feature for dirt and dust to cause problems during the sanding process. This is because you sand the dirt and sand, which will scratch the wood, thereby removing essential grains. The best thing you can do is wipe the wood as clean as possible until all sand and dirt have come off.
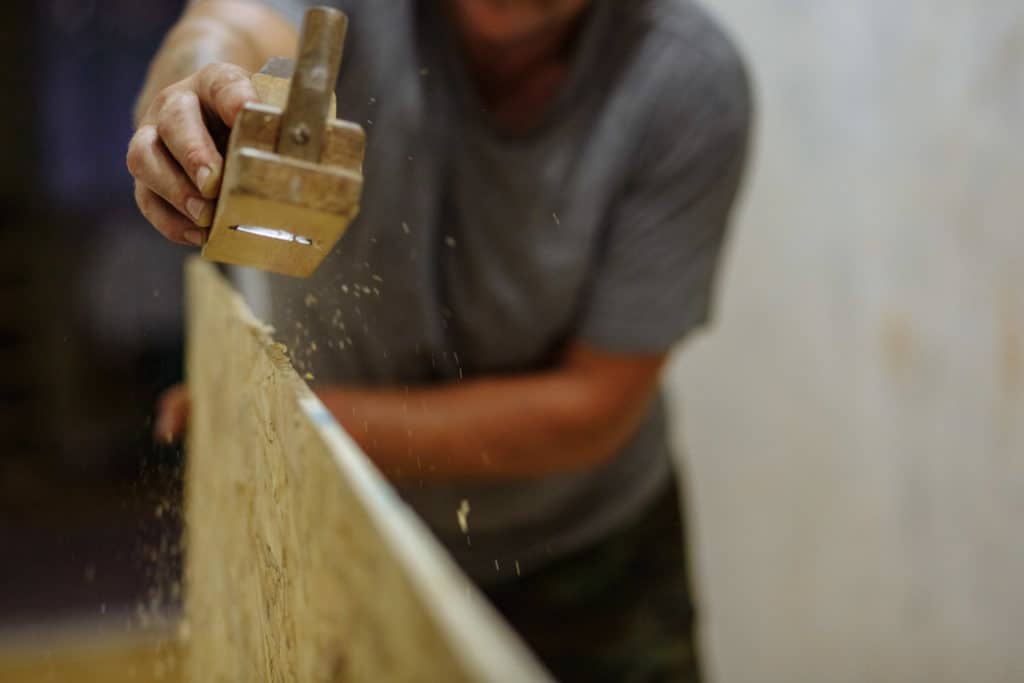
- Sand the wood.
As we begin sanding our plywood with the appropriate sandpaper, we must maintain a consistent direction. You will have to rub the sandpaper over the wood similarly continuously. Be careful to make sure that you keep an equal number of grooves on the plywood exterior. You will notice that there are layers that exist in such situations. Therefore, the surface layer must be all on the same level when you complete the sanding.
- Clean off sanding dust.
Before we progress onto the next stage of the sanding technique, we must clean off all the dust once more. You can do this in any manner that you see fit. You can do this manually with a damp cloth or electronically with a vacuum. Electronically a vacuum will often deliver the cleanest product using highly compressed air. This part is an excellent option to perform at this technique stage, so you must do your best.
- Fine Sanding
If you sand plywood with a machine, there is a possibility that the surface of the plywood has been damaged a little. You can use a hand sander to remove these uneven creaks and cracks. This is a much more delicate and detailed operation involving a minor cleanup of the plywood. Be sure to choose the ideal sandpaper for plywood.
How long it will take?
Depending on the size of wood that you wish to sand, this process should not take you longer than an hour. Using a machine is likely faster because plywood is a naturally soft and easy-to-cut wood.
Expected Results
In the end, the wood must be void of any minor scratches. The top layer of the wood should be consistent and even. If you run your hand across the surface of the wood, then there should not be any dust or splinters that get into your hand. This means you have not adequately cleaned the wood after sanding it.
Things to look out for
Something that often only comes with the experience knows how much to sand. Some people find sanding quite a therapeutic experience and sometimes get lost in the procedure. Once you have dealt with most of the flaws and scratches raised on the piece of plywood you are sanding, it is an excellent time to call it quits.
A perfect way to know when to stop sending is to see how much light is reflected on the wood. If there is a decent reflection at a low angle, then you know that this is enough sanding for today.
Video Tutorial
Conclusion
In conclusion, sanding a piece of plywood is not a timely or difficult task. However, it is essential for people who want to go further with this wood and turn it into a magnificent project.
Sanding will provide an excellent opportunity to level out the wood piece, turning it into a canvas that can be easily stained and painted on. The key to wood sanding is not to over sand but to know exactly when to stop. Be sure to keep the piece of wood clean from dust because this can continue to scratch the surface of the wood.
You may also want to read: Marine Plywood Alternatives.
- Pyrography Techniques for Beginners: Textures and Shading - January 23, 2024
- Troubleshooting Jointer Issues: Why is Your Jointer Not Flattening Wood? - October 11, 2023
- Unlocking the Secrets of Jointing to Increase Width - September 29, 2023
