Turning a bowl on a lathe is a skill that every woodworker should have, but it can be challenging to learn. To get started, you’ll need a lathe, a bowl blank, and a toolholder (also called a chuck). Fortunately, the lathe comes with a built-in tool holder (or chuck). When you turn on the lathe, the spindle turns the chuck, which holds the tool you want to turn. So, how can you turn a bowl without a chuck?
- Start by gathering your materials.
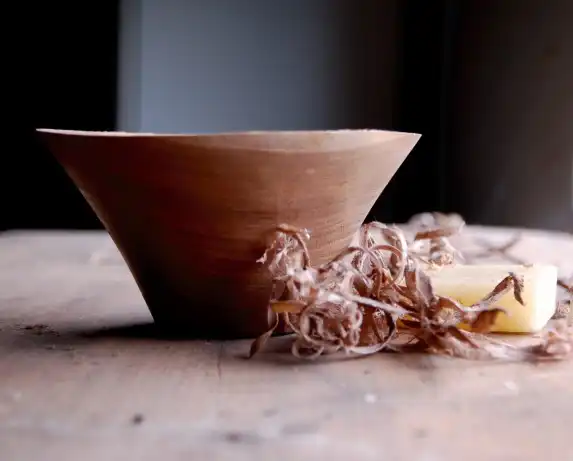
Materials
- Wood bowl blank
- Center finding tool
- Faceplate
- Wood screws
- Tape measure
- Compass or dividers
- Electric driver/drill
- Bowl gouge
- Bowl calipers
- Parting tool
- Sandpaper
- Fine pull saw
- Waste wood
- Foam padding
- Tailstock live centre
- Glue block
- Find the centre of the blank. A centre-finding gauge works great. You can use a gauge or bowl blank centre by measuring. Using a tape measure, measure across the centre of the flat side of the blank, then divide the measurement in half and make a mark. Rotate the blank 90 degrees and measure again, making a mark halfway. Rotate the bowl blank at 45 degrees. Flip the bowl blank again and mark the centre. You have four lines that have a centre point visually in-between. The centre mark is what you will use to centre the faceplate.
- Move on to mounting the faceplate. Before mounting the faceplate, slide a screw through one of the faceplate screw holes and measure how far the screw extends from the bottom of the faceplate. This measurement determines where the parting cut is made on the base of the bowl later. Write down the length the screw threads extend from the bottom of the faceplate and keep it. Faceplates have a clear opening through the centre-threaded middle area of the faceplate.
- Set the faceplate down on the blank. Enter the faceplate over the centre area of the blank, aligning it as close to the centre.
- If the faceplate does not have a clear opening, use your compass to mark the faceplate’s location. Adjust the compass to be larger than the radius of the faceplate. Place the centre point of the compass on the visual centre of the blank and draw a circle. The faceplate will sit within this circle.
- Hold the faceplate in position with one hand to prevent it from moving while mounting it to the wood bowl blank.
- Using a drill, start one screw into the wood blank, but do not tighten that screw.
- With one screw started, go to the opposite side of the faceplate and start the second screw. Tighten the second screw seated on the faceplate.
- Put another screw in and tighten, then go to the opposite side and insert another until all the holes on the faceplate have screws securing it to the wood bowl blank.
What to do if you do not have a chuck on your lathe
Use a faceplate with wood screws. These screws will be at the base of the blank and avoided while turning. That wood will not be incorporated as part of the bowl and wasted. You can also make use of your turning position. Because the bowl is not flipped around during the turning process, you will need to do the flipping.
The reason for starting the first screw is to prevent the faceplate from shifting off-centre. If the first screw is tight, it tends to rotate and twist the faceplate off-centre.
The purpose of tightening opposite screws is to make the faceplate sit flat and flush to the surface of the wood bowl blank. If two screws are tightened together side by side, the side of the faceplate could be seated deeper, or embedded into the bowl blank at an angle, making the faceplate off balance.
When making a bowl without a chuck, the exterior bowl is turned from the headstock side, and the interior is turned from the more traditional turning position at the tailstock side.
Bowl turning attachment
The bowl turning attachment is supplied with its bed and attachments and designed for bolting at the end of the machine’s bed at the tail’s stock end. Once in position, remove your tailstock, and slide your turning head down to the end of the bed. That is where you turn your larger jobs up 760mm.
How to turn a tenon on a bowl
- Make a flat area on the bowl bottom
- Set dividers to the width of four jaw chuck
- Use dividers to mark the bowl bottom
- Clear away material up to this mark
- Form inward dovetail angle to match jaw angle
- Make a flat shoulder area around the tenon
- Test fit four-jaw chuck
How the bowl is attached to the lathe determines if the base is exposed or partially blocked by the tailstock. Faceplate and screw chuck attachments leave the bowl base open and accessible. Chuck attachments restrict access to the bowl base because the tailstock holds the bowl blank.
Turning a goblet without a chuck
- Start with grain orientation. Turn a goblet out of a single piece of wood using either a whole section log or a square cut piece. Log sections produce natural edge goblets for decorative purposes. The grain has to run parallel with the stem to give it maximum strength.
- Gain orientation gives strength to the stem, but the choice of timber matters. The timber selection process is for durability, safety, and ease of use. Drinking vessels are from timbers such as cherry, apple (or any of the fruitwoods) since these are safe for human consumption. Avoid toxic timbers such as yew for goblets. For an average goblet, a piece of wood around 20 – 25 cm in length and 5 – 10 cm wide would be ideal.
- Get ideas for shapes.
- Take light cuts across the end of the wood to square up the end and to clean up a sawn surface. Once the end is clean and square, drill a hole in the cup end for the hollowing process. The hole is drilled with a twist drill held with a Forstner or sawtooth bit, or drill using a 13mm spindle gouge with a fingernail grind.
Homemade bowl chuck
Making your chucks, allows you to be inventive and save money. If you come up with something good, there could also be commercial prospects. Most forms of the homemade chuck are adaptations of existing chucking methods.
The jam chuck uses a solid fruit to finish turning the bottom. It is a 20inch tapered cup with a wall thickness of about 6mm. The fruits never go in parallel to the axis. When finished, they all stand at different angles, making them look natural.
Make a hole down the middle of the chuck, so that a piece of dowel ejects the workpiece. This jam chuck is on a faceplate, or a spigot turned on the end.
Bowl turning techniques
- Know the basic bowl turning technique
- How to prepare a wood blank
- Get to know the tools needed
- How to sharpen your tools

- Grain and Sheen: Teak Oil versus Danish Oil Uncovered - January 10, 2024
- The Cherry on Top: Crafting the Perfect Cutting Board - January 9, 2024
- Polyurethane Water-Based vs Oil-Based: Choosing the Right Finish - January 8, 2024
