Are you thinking about painting over Danish oil? You can take a woodworking project to the next level by designing and executing an excellent paint job to enhance your exquisite project. With a bit of colorful flair, any piece of wood can be customized.
People who custom design furniture for bedrooms appreciate repainting wood because it allows them to create a finish that matches the decor of the particular room where the table will be placed.
It’s also possible that you want a particular color you have fallen in love with. Either way, we are writing this article today to help you when you are refinishing your woodwork with a Danish oil finish. When you finish your woodwork, many people add Danish oil as a preservative to make the project last longer. Therefore, you need to know how to use it.
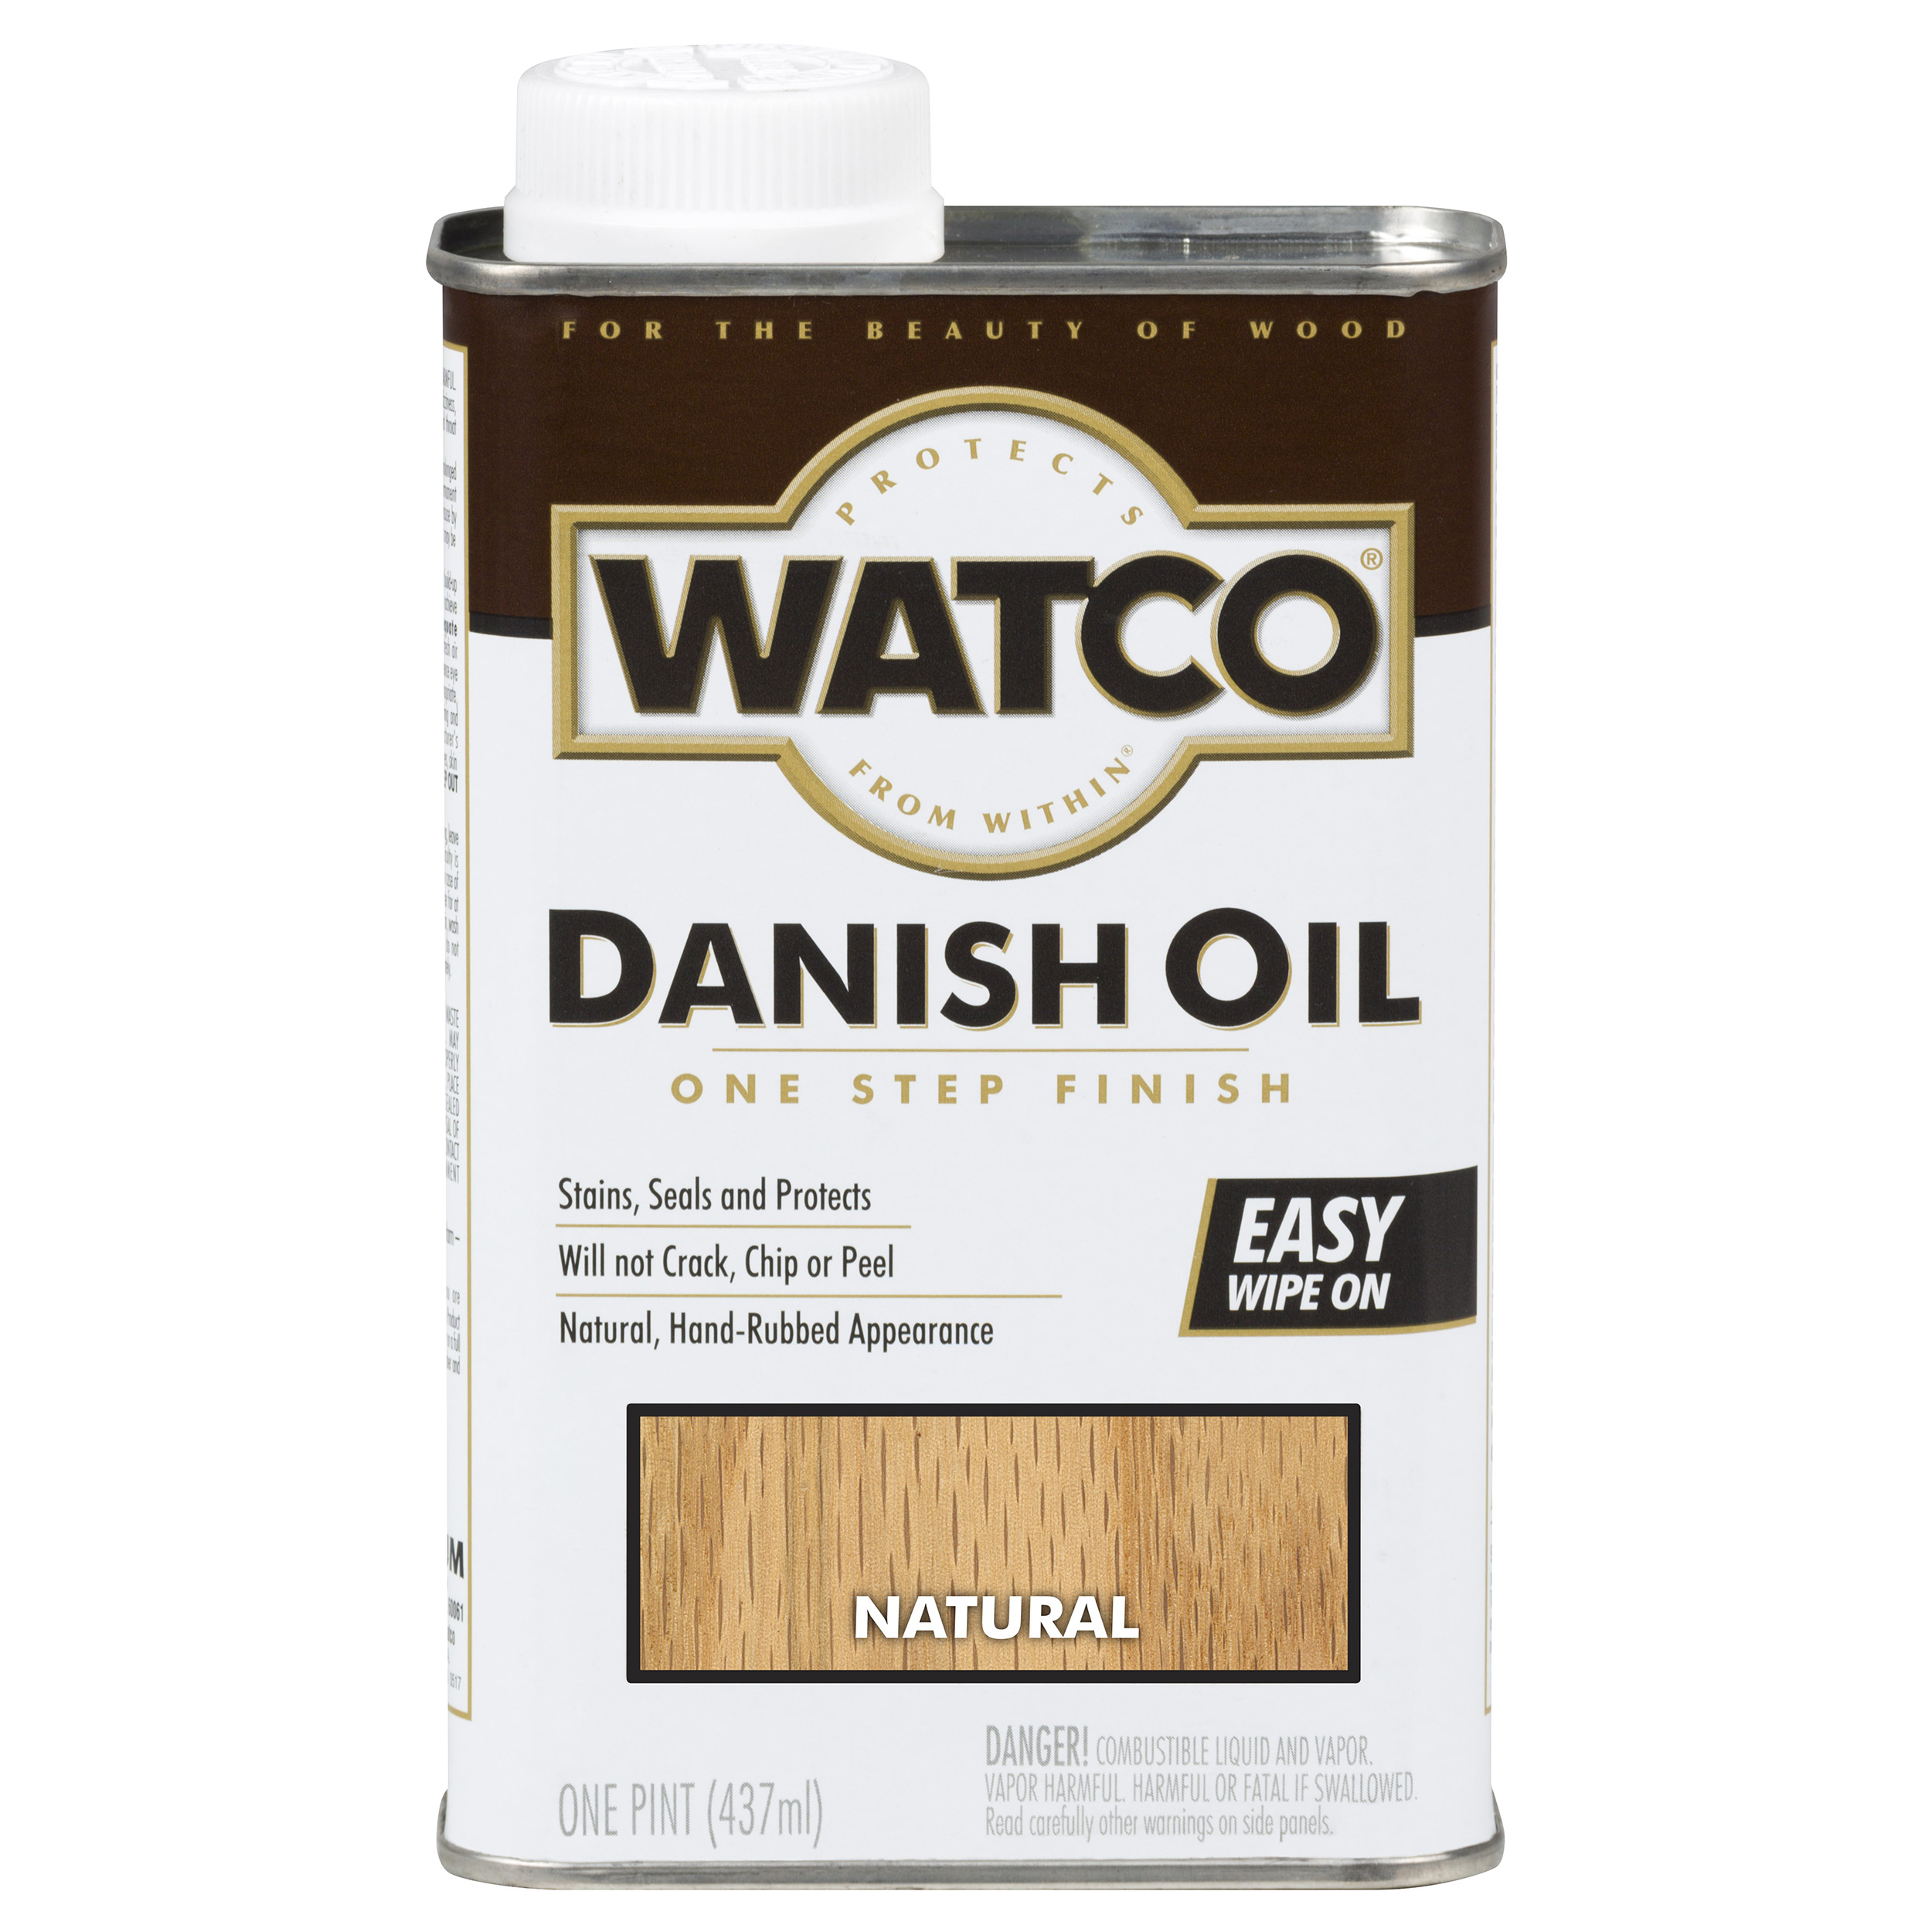
Can you paint over Danish Oil?
The first question many must ask before they begin painting over a Danish oil finish is whether it is a wood that allows you to stain it. The answer to that question is yes. With this oil, you must be pretty delicate and careful.
The operation must be well-timed, ensuring the oil has been given enough chance to cure completely. Once this is done, then it is now possible for you to paint over the Danish oil with paint. On average, the drying time for a coat of Danish oil will take around 28 to 48 hours to cure fully.
It would help if you waited longer to ensure this coat is fully dry to avoid wastage. Many people add at least three coats to allow the preservation process a perfect chance of succeeding. You must be patient because before applying the second coat of oil, the first one has to be. To ensure that the wood is thoroughly dried, you can perform the traditional touch test.
What will be important when you begin painting is ensuring that the paint has something it can grab onto. As you know, Danish oil is quite greasy and slippery; therefore, if it is not fully cured, it can become difficult for the paint to attach itself to the wood piece.
Therefore, a good practice to begin with before we start painting over the Danish oil is for us to sand over the wooden project. Try your best to find very gritty sandpaper, possibly within the range of 320. Use this to sand over the piece of wood, especially on the parts you want to paint on.
Using Acrylic Paint
If you are thinking about using acrylic paint to paint over your Danish oil preserved wooden project, you should think twice. This is because you shouldn’t paint over Danish oil. After all, it is waterbased. This means that the paint will not dry but adequately begin to fall off and crack or peel.
This will end up leaving the project looking substandard. Although waterbased paints are known for drying with exceptional speed, they will only dry accurately if you add a sealing cover first. A seal coat combined with light sanding will provide a better base for the acrylic paint to stick to. It is true that the more seals that you add to the wooden project then, the more likely the acrylic paint is to stick to the wood.
Using Oil Paint
When you purchase oil paint, you will find that they are by nature oily, and this is because they have been created as a mixture of linseed oil and several various solvents. Combining this number of solvents means that these paints take quite a long time to become dry.
If you were to put this into perspective, it would take around six times more time for this type of paint to dry than acrylic paint. For what you will sacrifice in time, you will gain in durability because this kind of paint is well known for being highly adhesive to lightly sanded, oil-finished Woods.
In this regard, it is unlikely that you will require a sealing coat to be placed on the wood. The one thing that you must ensure you pay attention to is whether the Danish oil coat has fully cured itself. No paint in the world will successfully stick to the wooden project if it is not fully dry.
Using latex paint
Latex paint is highly non-toxic, meaning that if you accidentally absorb some of it through your skin, it will not damage you. This has made it an ideal choice for decorating surfaces such as wood. However, even though this type of paint is highly versatile and can last for months on a surface without staining or flaking, there are a few problems with using this type of paint over Danish oil.
Using Aniline Dye
However, aniline dye is more environmentally friendly and adds exceptional durability and protection to the wood. This type of paint is quite expensive and can be hard to find if you live in a small town around the country. This is because manufacturers have begun to phase this dye out and use water-based dyes instead.

People often have a problem when they attempt to paint over a Danish oil finish on their project is one of exposure time.
Using Waterbased paints
Waterbased paints are the least preferred paint type to cover Danish oil. They are harder to apply but tend to flake and peel off when exposed to moisture. However, if you are not too bothered about painting over Danish oil and are thinking about using waterbased paints, you must test these paints thoroughly on the project before applying them.
Can I put waterbased varnish over Danish oil?
Yes, you can put water based varnish over danish oil. You can coat your finished Danish oil project with waterbased varnish, which will stay dry for a couple of days; however, you need to ensure that the Danish oil is 100% dry. It’s best to wait around 30 days before you apply any kind of a finish over your Danish oil finish.
Can I put other kinds of resins on top of my Danish Oil?
You can put some other types of hardeners on top of your Danish Oil. This is often the case with people who want to use oil-based lacquer over a Danish oil finish.
You can also use other oils, resins, and varnishes on top of your Danish Oil finish if you wish to do so. However, this means you will use lacquer or polyurethane over a Danish Oil finish. You must check with your Danish oil paint manufacturer for compatibility before you do so.
Avoiding Brush Marks
When painting over Danish oil, you must use an excellent synthetic brush. This is because Danish oil has the propensity to mark very quickly on a synthetic brush. You will also need a super-fine bristle brush to achieve the best results with your Danish Oil finish.
After your project has been sealed with Danish Oil/Oil base finish, you must allow the project to dry completely before attempting any touch-up work. For specific touch-up instructions, see here: https://www.danishoil.com/blog/2012/02/how-to-touch-up-a-danish-oil-finish/.
What are the advantages of using a Danish Oil finish over other finishes? Here are some benefits you will have when you use Danish Oil to finish your project: Danish Oil is straightforward to apply. You can easily control how much oil you want on your project, making it easier to achieve the desired look. See our Danish Oil Guide.
Conclusion
When deciding how to paint a wooden project that has been sealed with Danish oil, you take the appropriate steps to keep the scheme looking good in the long term. You must know the exact duration of time required before Danish oil cures.
This is the first step that must be adhered to. You cannot paint over Danish oil that is not fully cured; otherwise, it will simply be a waste of paint and oil. An average period to wait for the oil to dry is between 28 to 48 hours. It is of the utmost importance that you remember that this is 28 to 48 hours per coat.
After this, you must be careful with the type of pain you select because any waterbased- paint will struggle to latch onto Danish oil. This includes paints such as acrylic. The best options that you can consider are oil-based paints because they combine well with Danish oil.
The only disadvantage of using oil-based paints is that you will have to take a long time to allow the oil paint to dry. Therefore, if you wish to paint over Danish oil, these are the few things you need to be aware of.
- Pyrography Techniques for Beginners: Textures and Shading - January 23, 2024
- Troubleshooting Jointer Issues: Why is Your Jointer Not Flattening Wood? - October 11, 2023
- Unlocking the Secrets of Jointing to Increase Width - September 29, 2023