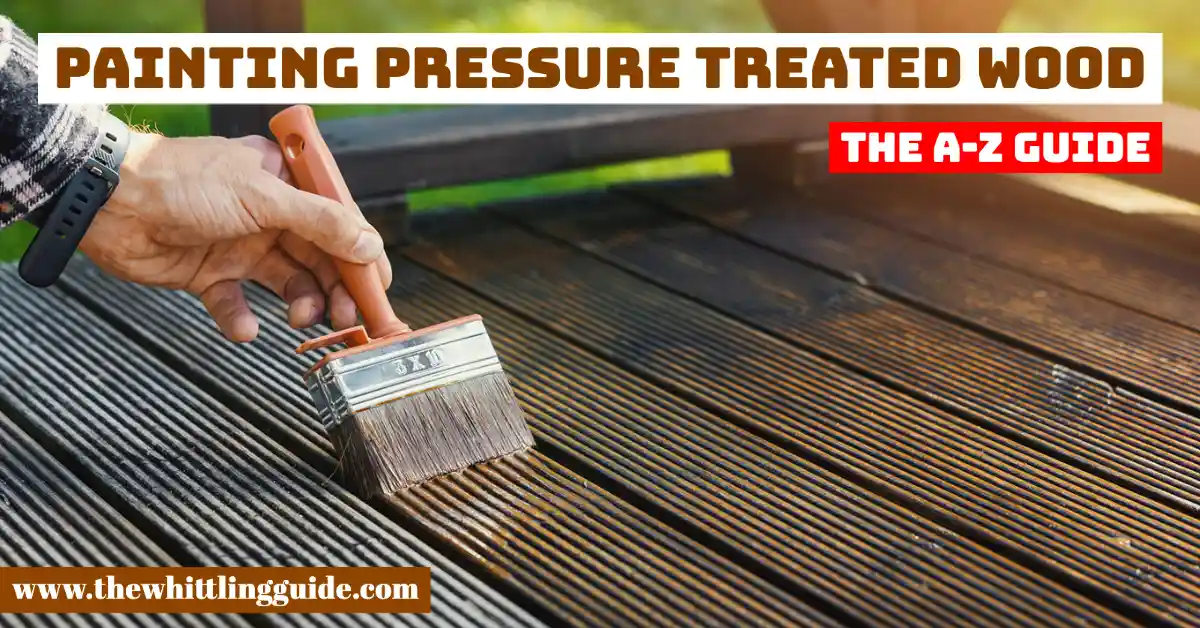
Are you considering painting treated wood? Pressure-treated wood is a type of treated wood in which the preservative is added to the wood during manufacturing. The wood is then sealed to protect it from the elements, such as rain, which would cause it to rot. Pressure treated wood is sold in various colors, each containing its blend of preservatives. Your neighbor painted his deck with a pressure washer – and you think your deck is different? It is not.
The best way to paint pressure treated wood is with natural wood finish spray paint. So, what’s the big deal? That’s the question we get all the time. We get it. It can be intimidating to tackle a pressure-treated deck. If you’re afraid of the same thing, it might be easier and more fun to buy a new deck and leave your old one alone. The problem is it’s too easy to take shortcuts and get away with it. If you’re not careful, you can destroy your deck. Let’s look at painting pressure-treated wood in detail.
What is Pressure Treated Wood?
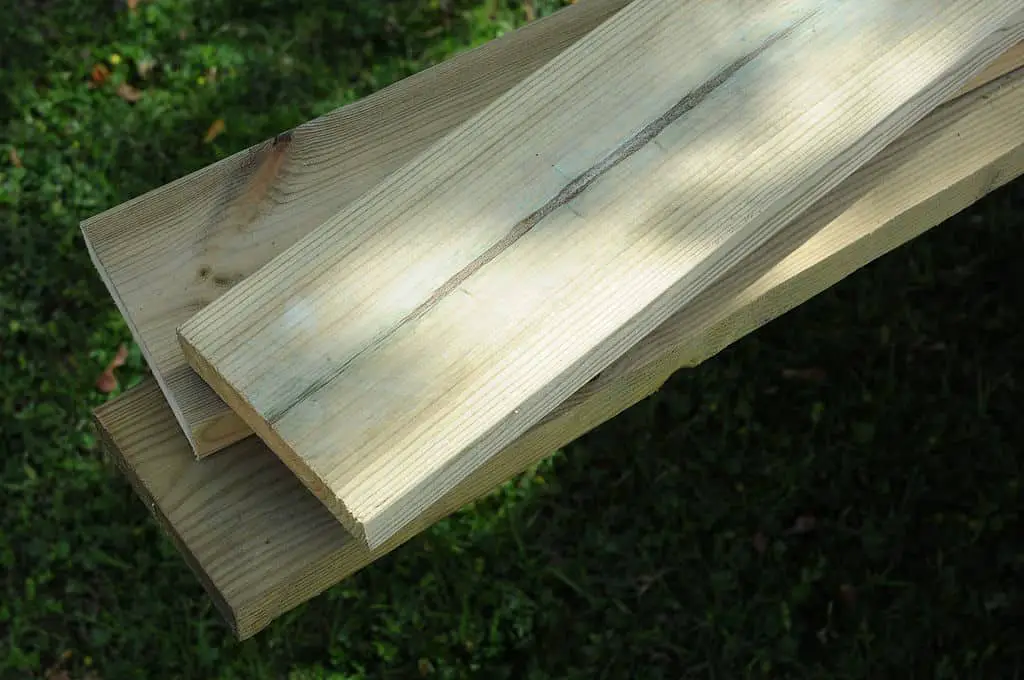
Pressure-treated wood is processed using high pressure to inject a preservative into the wood. The chemical is resistant to insects and moisture. Pressure-treated wood survives harsh conditions outdoors.
The lumber comes as pine or cedar. The process involves saturating milled lumber with chemical preservatives. The chemicals reduce the vulnerability of the wood to insects and rot. The wood is left wet so that you coat the wood with paint. Pressure-treated wood is a time-sensitive project.
Pressure-treated wood gets rid of a greenish color when painted, which is not appealing to the eye. Paint gives it color and style. Chemicals make the wood fire retardant. Multiple pressure-treated kinds of wood are for different projects.
How to paint pressure treated wood
Evaluate the wood’s moisture content to use the correct paint and primer. The first step involves cleaning the wood. Leave the wood to dry. It takes weeks or months. The wood has to feel dry to the touch. That is a sign that it is dry. If you sprinkle a drop of water, it has to soak in. That is your cue to start painting.
If the water beads up, give the surface more time to dry. Apply the primer when the wood is dry. Apply the first coat of paint and finally the topcoat. Consider staining the pressure-treated lumber if you do not want to repaint it. Let the wood weather and become grey so that you coat it with a protective sealant.
However, the sealant has to be reapplied. However, it is considered less demanding than repainting. Avoid painting the wood as soon as you purchase it. The chances are high that it will still be wet, and you cannot paint. A prime with a latex primer and a compatible exterior latex paint works together. It is also known as water-based paint.
How to prep wood for painting
Sanding
The first round of sanding uses 50-grit sandpaper. It is tough enough to eliminate uneven surfaces, debris, and dirt. Bumps and inconsistencies are corrected. Put on goggles, masks, and gloves before you start sanding. The process produces dust particles that are harmful to your health.
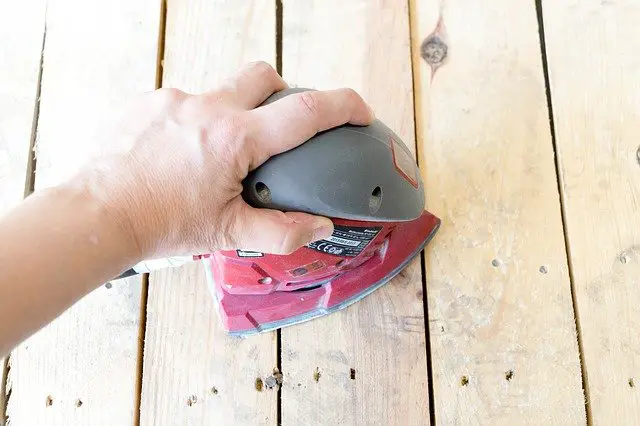
Pre the wood before you start painting. Wood surfaces need attention so that the paint lasts. Failure to sand the wood leads to separating the wood stain from the wood. It starts peeling off in a short period.
Even tiny scratches matter. They are a bridge to bonding between paint and material. Use a handheld orbital sander for large surfaces or sandpaper strips for smaller surfaces.
See our orbital sander vs sheet sander post.
After adding primer, sand the surface to create a bond between the material and paint—Sand the whole surface, corners, and ridges. If you wish to make several coats, sand the layers except for the final coat.
Cleaning the Wood
Clean the wood before you start painting. Use a stiff brush, soap, and water. When you finish scrubbing the surface, rinse off the wood and let it dry. Cleaning gets rid of dirt and debris. Failure to clean allows the paint to cover dirt and particles underneath.
The coating does not last. The deck should be in good shape. Otherwise, you will have to use a commercial deck, a wood cleaner, and a power washer. Scrub every inch of the wood with a rag. Rinse the soap off the wood. Failure to do so keeps dirt on the wood surface.
It is as good as adding dirt. Dry the wood with a dry and clean rag. Let it dry completely with the sun or wind. If the wood is not in its best shape, it requires deeper cleaning. Use a commercial wood cleaner. That on pressure-treated wood that has been idle for a while or damaged.
Strip the old paint
Get rid of the old paint so that you start afresh using chemical strippers. Apply a thick coat of the chemical uniformly on the surface using a brush. Leave the coating for 20 minutes till the old paint starts bubbling up. Remove the softened paint using a scraper.
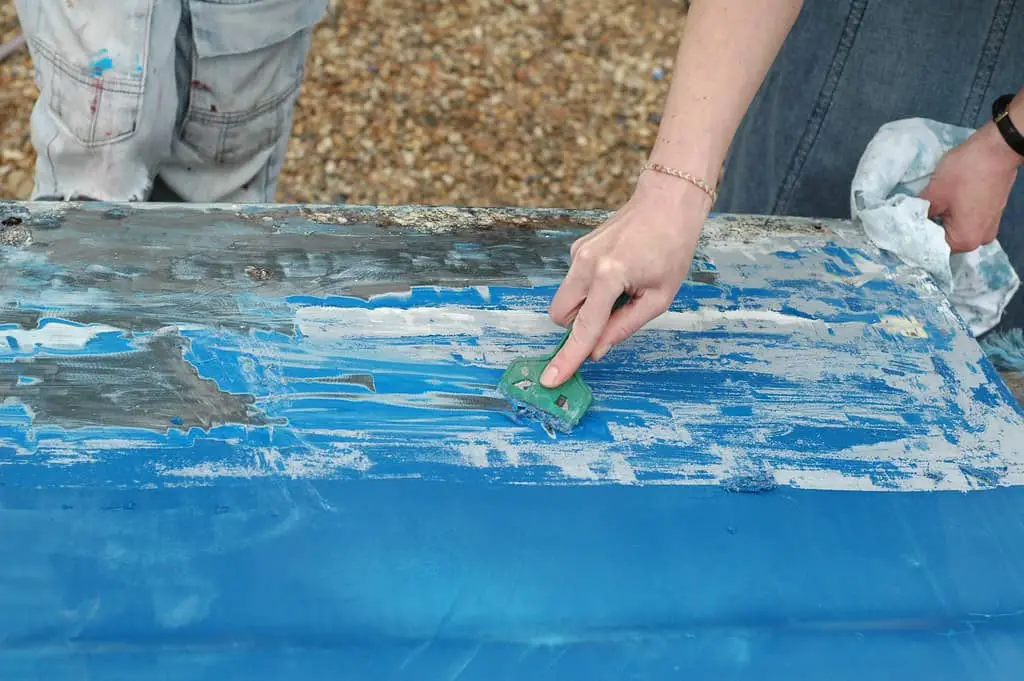
If you are not satisfied, apply a second coat of the stripper and wait for 20 minutes. Use a steel wool pad dipped in mineral spirits to scrape off the remaining bits of paint. Wipe off the surface with a wet, clean cloth dipped in mineral spirits.
There are many ways of removing old paint. Rinse the surface with mineral spirits to finish off. Do not use strippers labeled water-rinse and no-rinse. The manual method of using scrappers
requires effort and takes time. Run tests so that you use the appropriate form of scraping wood surfaces. Some old paint does not melt, hence using chemical stripers will not help. Using a paint washer damages the wood surface if you are not careful.
Prime the wood
Begin with a primer formulated for exteriors. Apply prime when you confirm that your wood surface is dry. The manufacturer must approve the coating to be suitable for pressure-treated wood.
A paint sprayer is considered easier for paint application. However, a brush is for detailed activities. You are allowed to roll, spray or brush the primer onto the surface. Each primer has its time window to dry. Cover the wood in primer. Read instructions on the container. That allows the primer to cure. The primer takes time, leaving it in a clean environment to dry.
It does not have to contact with dirt and dust. When working from an area where you conduct numerous projects, cover the area or suspend your operations. Getting debris in the primer when it is still wet disturbs the painting process. It will not be accurate.
Paint the wood
The primer has to dry before you apply paint. It does not take more than a day. After the first coat, you are allowed to add top coats till you have achieved your finish. Two coats are minimal and more coats will not harm the surface.

Latex performs better than oil-based paint. Paint lasts longer on vertical surfaces like fences than on horizontal ones like decks. For more coats, follow the recoat time window given by the manufacturer.
Painting wood improves its appearance and makes the wood last longer. Unlike stains, painting gives you bright colors. Paint fills the inside of cracks and gives a smooth appearance to the wood surface. You have a wide range of colors to choose from.
Tips for painting wood
- Cover your work surface
- Sand the flat areas
- Clean the wood surfaces
- Clean off the dust
- Sand the corners and details
- Prime the wood
- Use a roller to apply primer
- Sand the primer
- Use a paintbrush
- Sand the first coat
- Consider paint additives
After Painting
When you finish the last coat, apply a top coat for a smooth and glossy finish. Polyurethane is considered a durable finish on wood surfaces. There are sprays, wax, sprays, and glazes. It depends on how you want the finish to look.
Apply a sealer that protects the surface. That is known as a protective coat. Sand the last coat if you want a gray finish. Applying gloss makes cleaning the wood surface easy. A sealing wax requires a repetitive application. However, a single coat is fine.

- Grain and Sheen: Teak Oil versus Danish Oil Uncovered - January 10, 2024
- The Cherry on Top: Crafting the Perfect Cutting Board - January 9, 2024
- Polyurethane Water-Based vs Oil-Based: Choosing the Right Finish - January 8, 2024