
Turning pens on a lathe
A woodturner’s tool set for turning pens consists of several different woodturning lathes designed for different types of woodturning cutters. So which lathe should you use? It depends on what type of pen you want to turn, but the most important factor is the cutting tool. For best results, choose a tool that allows you to cut the design you want into the wood and plunge it effortlessly for precise cutting.
Turning a Pen
- The toolkit has to be close to the blanks without touching.
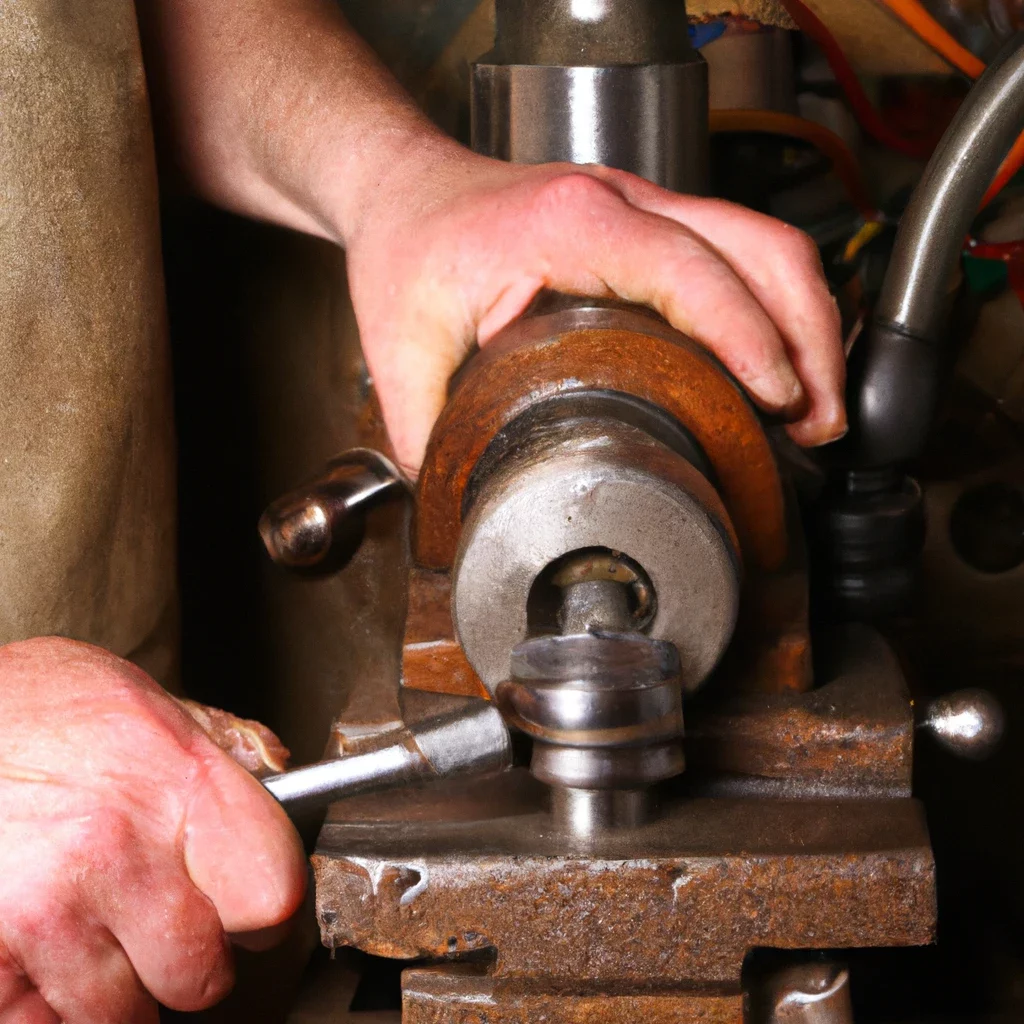
- Rotate the blank by hand and turn on the lathe. Set the speed to around 3,200rpm. The roughing gouge allows you to keep the tool handle low by your side.
- Place the tool on the tool rest in the middle of the blank.
- Raise the handle slowly as you start cutting. Keep the flute open. Work towards each end of the blanks.
- Make light cuts to avoid chipping. Use the roughing gouge to turn the blanks round.
- Turn off the lathe and move the tool to rest closer.
- Shape the blanks using the roughing gouge. The bushings gauge the finished diameter of the pen.
- Stop turning g when the blanks have enough from the bushings.
- Take the skew chisel for a smooth finish. Hold the tool flat onto the tool rest to maintain the speed.
- Make light cuts as you even out the turning and smooth the surface.
- Turn until the blank is even. Do not turn the blank lower than the bushings.
Making a pen on a lathe
- Get a pen kit and gather your tools.
- Get a pen blank. The blank should be beautiful and treated. It is a wooden rectangular block with a hole at the center.
- Line up brass tubes from the pen kit. The blank should be longer than the brass tubes.
- Cut the blank and line up the brass tubes. Cut the blank into segments. Two brass tubes in the kit have different lengths, and use the measurements for the blank.
- Draw a line across the blanks for an easy lineup with the blanks.
- Drill the pen blank. The drill has to match the outer diameter of the brass tubes. Drill slowly to avoid damaging the material.
- Sand and glue in the brass tubes. Use rough sandpaper of 120 grit. Apply glue and stick each brass tube into the blank of the same length. Wear gloves and wait for the wood glue to cure.
- Square the ends with a pen mill.
- Mount blanks and bushings on a mandrel. Check the bushing size on the manual.
- Turn the pen on the lathe. Shape the blank using a mandrel.
- The sand of marks on the surface. Sand the blanks.
- Apply a finish and sand.
- Assemble the pen following instructions. All the parts are pressed on.
Lathe to make pens
- Choose a better pen turning lathe as you prepare for your project.
- Pen turning lathes have a high-speed range.
- A lathe works with a drill press, pen kit, turning tools, and kits.
What Makes for A Good Pen making lathe?
Size
A benchtop or full-size lathe is used for pen turning. Small benchtops should be 15 inches between centers to have enough room for pen turning. Align the headstock and tailstock.
Speed
Speed control helps you master your project. The lathe comes with a pulley system that locks in your speed option—a pen-turning lathe with a minimum of 200rpm allows the glue to dry faster.
Headstock and Tailstock Size
Headstock and tailstock are in two sizes. That is the MT1 and the MT2. MT2 tapers are more popular than MT1, and it comes with accessories. That makes it easy to upgrade the tool.
How to turn a pen on a lathe
Gather your tools and materials as you prepare to turn your pen on a lathe. These are chisels, a pen mandrel, a barrel trimmer, a pen tube insertion tool, a pen press, and a drill. With these, you make a pen lathe machine that has to be powerful enough to turn wooden pens accurately. n.
When choosing a lathe, you go for a machine that works on both pens and other items, such as bottle openers. That makes it a versatile machely.
The lathe comes as a set. The set comprises the lathe, tools, and accessories. The lathe should allow you to be creative and equipped with features that accommodate multiple applications. It should be powerful enough to remove hardwood data easily.
Ease of use makes it effective, and affordability makes it run multiple turning projects without going off-budget.
Steps
- Draw a line with your blank and mark the cap end with an arrow. That helps you realign the parts. Cut your blanks, and they should be longer than the tubes.
- Draw two intersecting lines on the ends of the blanks. That is from corner to corner, and they determine the center points. The drill press table should be perpendicular to the chuck. Drill through each blank, and the blanks should line up in the middle of the pen. Start the holes from the inside ends.
- Sand the barrel using fine-grit sandpaper. The coating used outside consists of 5-minute epoxy. It covers the entire brass tube and for full glue coverage, rotate the tube when inserting it into the blank. It has to fit the blank and plug the end of the tube with tape to avoid clogging.
- Let the epoxy cure and square both ends. Chuck a mill in a cordless drill. The blank has to be secured in a bench vise. Allow the shift to fit into the brass tube. Trim overhanging wood.
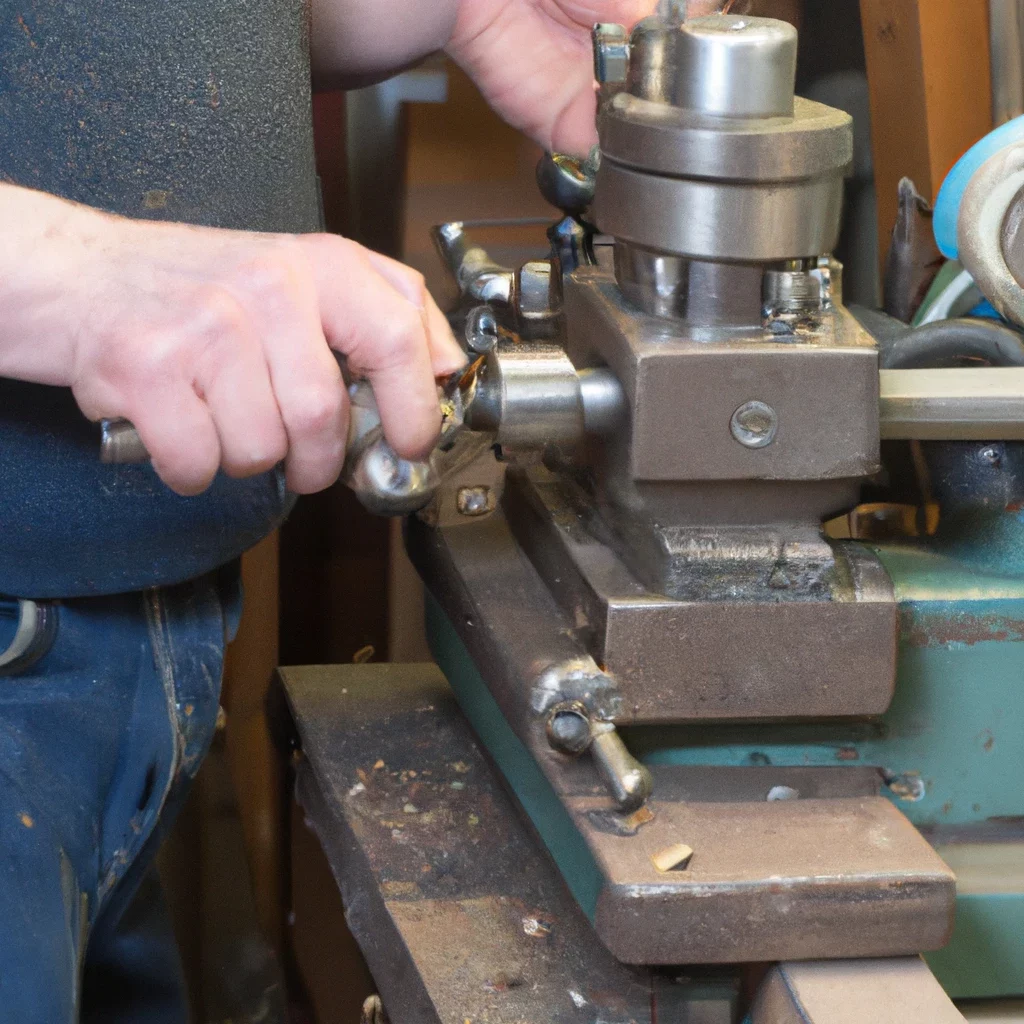
- The assembly has to be secured using a locknut. Put the mandrel I to the headstock and the blank between two bushings. Slide the tailstock, and the center has to be on the mandrels-free end.
- Adjust the tool to rest parallel and closer to your work. Rotate the blank using a roughing gouge and ensure it does not touch. Set the lathe to 1,000rp. It has to be perpendicular to the rest. Touch the bevel against the spinning blank. Raise the handle till it starts cutting. The flute has to face in the direction of your cut.
- Switch the lathe to 1,500 to 2,000rpm and shape the blank. The ends of the blanks should be larger than the bushings. Do not cut into the tubes.
- Arrange the blanks onto the mandrel, remove the tool rest, and set the speed to 500rpm. Remove visible marks using 150-grit sandpaper. Shape the ends of the blanks and pinch the stripes of sandpaper.
- Choose the finish you want on your pen and apply it to a paper towel. Spread it onto the barrels, so you end up with an even finish. Turn on the lathe at a speed of 1,000rpm as you start working. Apply pressure using the pad and allow the solvent to evaporate. That is when the surface builds a finish. Apply as many coats as you want for the desired finish.
- Please make sure the brass tubes have no clogs since they compromise assembly. Apply steady pressure to avoid cracks. Follow instructions when arranging rings and bands.

- Grain and Sheen: Teak Oil versus Danish Oil Uncovered - January 10, 2024
- The Cherry on Top: Crafting the Perfect Cutting Board - January 9, 2024
- Polyurethane Water-Based vs Oil-Based: Choosing the Right Finish - January 8, 2024
