How do you cut straight with a coping saw?
- Install the blade
- Secure material
- Trace and cut
- Continue sawing
- Move the board coming to the center.
- Approach the corner and back up a bit. Come back to the corner and align it perfectly.
- Make a final turn. Think of how you want to finish off.
- Come right along the line close to the hole.
- Trace the inside line.
- Cut the inside of your material. That reduces the width.
- Take out the center.
- Lay out one inch borders.
- Remove the ridge left by your starting hole.
- Lay out the third piece.
- Lay your grid work.
- Mark off 1/8inch between each square.
- Make cuts from the center hole to the corner.
What is the short straight handle on a coping saw used for?
- It tightens and loosens the blade in the frame.
- Straight handles are for delicate or precise work.
What should you do before using a coping saw?
- Get your protective eyewear.
- Inspect for damage on the saw.
- Gather materials.
- Wear gloves.
- Replace the blade.
How do you cut a straight line?
- Work on a solid workbench or table. The table has to be secure and should not wobble. That way, your cuts will be straight. All the legs should be even and the tabletop level.
- Secure the piece of wood to the table using clamps to hold the wood to cut to your workbench. Clamps hold the wood in place and prevent it from moving around while cutting.
- Draw a line to cut using a straight edge from a yardstick. The line shows you where you want to cut and guides you in sawing straight. Use the flat side of your saw to draw a straight line.
- Clamp a straight board onto the wood and lay it over the piece of wood that you want to cut. Clamp the board so that the wood lines up with the line you drew.
- Put the saw blade on the line at a 45-degree angle. Grip the saw’s handle while keeping your index finger resting on the side of the saw. That gives you more control over it. Align your wrist, elbow, and shoulder with the blade.
- Make two upward strokes with the saw. Repeat the process till the saw starts cutting into the wood. Check for splitting or cracking at this point.
- Work the saw back and forth to cut the wood. Continue moving your hand back and forth in full strokes. Keep cutting along the line that you created.
- Shorten your strokes towards the end of the cut. As you approach the end of the line, shorten your strokes about halfway. That prevents splintering or cracking towards the end of your cut.
- Use a miter box. Clamp your piece of wood to the miter box before you start cutting. Put the saw between the slits and use the box to keep your cuts straight. The miter boxes have slits at different angles. They help cut your wood on an angle.
How do you cut a 45-degree angle with a coping saw?
When you have a square with a 45° angle or a saw, line that up on the corner of one end and draw a pencil line alongside. A 45° angle is half a square corner to corner, and the sides equal length. Use a tape measure and any straight edge to get it.
How do you cut long straight lines in wood?
- Measure and mark where you want to cut.
- Add a checkmark on your line to determine which side you are cutting on.
- Secure your wood to a workbench with clamps.
- Set up a fence. Measure the distance from the teeth of the saw blade to the edge of the plate.
- Set your fence to this distance away from your cut.
How do you cut a straight line with a hand saw?
- Mark your cuts, either with a pencil or a marking knife to see if you follow the line. A marking knife with severe wood fibers. There is less tearing or splintering on the exit side. Do not force the saw. However, forward pressure is ok, but do not apply more downward pressure. Relax your grip on the handle.
- For delicate cuts, cut a straight V-groove with a marking knife. That helps the blade to start right at the planned angle. No forcing the saw and no downward pressure. Make a few pull strokes to get the saw blade caught in the wood.
- When starting a cut, watch the reflection of the wood on the saw blade to see if you are holding it perpendicular to the surface.
- Control the saw by focusing on where the saw should go. That is opposed to where it is.
- Use the full length of the blade for straighter, cleaner and faster cuts.
- If the saw starts to wander, do not bend the blade. Trackback to where the saw started wandering and try again.
- More practice is needed. A single scrap piece of wood offers plenty of opportunities. Do not worry over cuts that wander off 1-3 degrees and bring a low-angle block plane. Build a simple shooting board so that you straighten a slightly skewed cut.
Tips
- Careful measuring and marking
- Stop your work moving by using a vice or bench-hook
- Use a sharp saw
- Stay comfortable and have enough room to work
- Do not rush, be patient
- More practice
- Use a ruler to draw lines on the wood
- Do not force the saw
- Keep the cutting blades sharp
- Once you have a groove started, ease up on the saw and let the teeth do the work for you.
When you are using a hand saw, the power from the stroke should be coming from your body stance. If you are right-handed, stand with your left foot further out than your right. Lean with your left side in the direction of the cut. Hold the saw such that your index finger points along the saw in the direction you want to cut. It helps keep things aligned.
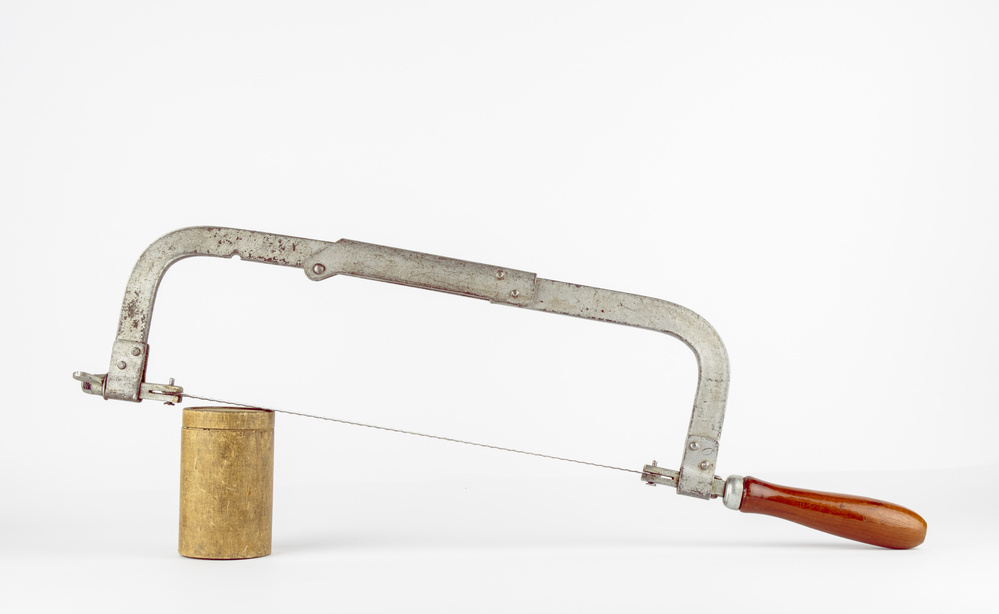
What is an eclipse coping saw?
It is a well-built Coping Saw version for cutting and shaping intricate or irregular shapes in wood with precise control. It comes with a durable steel frame for long life, a comfortable wooden grip. The Eclipse coping saw blades are for cutting and shaping in wood. It is for use in the majority of coping saws. The eclipse coping saw has a frame that allows the blade to be positioned at any angle. It is for cutting shapes in wood.

- Grain and Sheen: Teak Oil versus Danish Oil Uncovered - January 10, 2024
- The Cherry on Top: Crafting the Perfect Cutting Board - January 9, 2024
- Polyurethane Water-Based vs Oil-Based: Choosing the Right Finish - January 8, 2024