When crafting objects from wood, you can choose to do it using a power tool. It is quicker and easier, and a hand is more time-consuming but allows for more control. While hand tools take more skill to use, they are more fun and allow for more detail. The pen slips in the wood while the hand holds it steady.
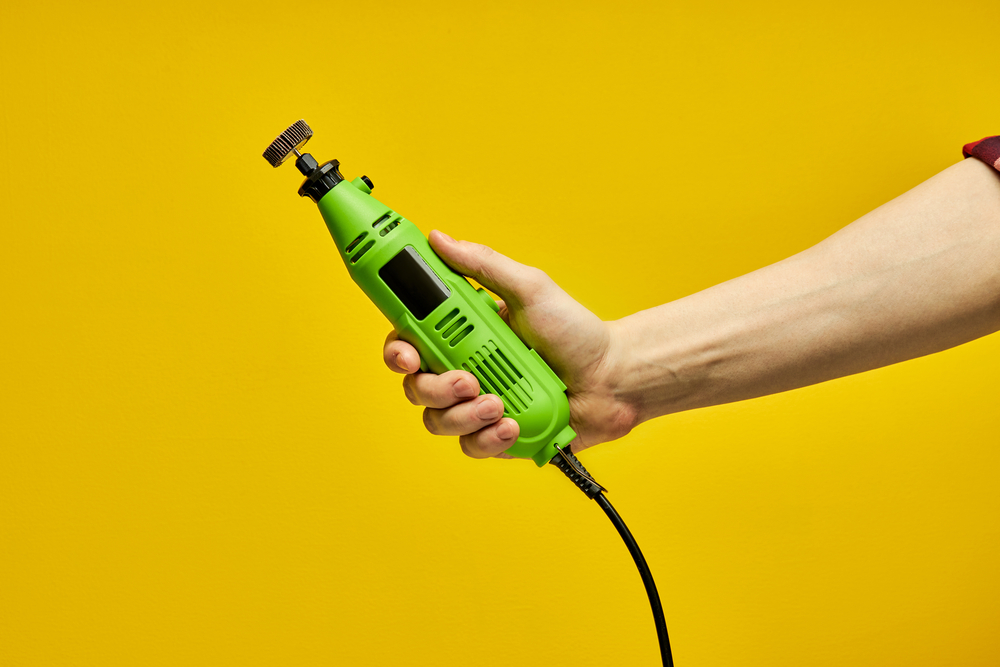
There is a lot of confusion and debate over the best way to power carve a wood spirit. Most people think that if they power carve a wood spirit, they will be the best carver the world has ever seen. Find out how to power carve a wood spirit.
Select the proper wood
After picking a top power carving tool, select proper wood to carve. You know the finish you want on your wood spirit, and that is why you should not pick any random wood material.
Red cedar makes good wood spirits. Sometimes you already have the wood you want to use, and figure out how best to use it for a better wood spirit. Carve a wood spirit from the block of wood using a draw knife to remove the loose stringy remains of the outer bark. That exposes the white sapwood with insect holes.
Sometimes the holes that remain in the finished wood piece add to the look. However, it depends on what you want. Use a sharp hatchet to remove the softer sapwood. If you do not have the hatchet, you can still use any other tool available. What matters is efficiency in wood removal.
When done removing wood, you have solid wood from which you will carve the wood spirit. Familiarise yourself with the piece of wood before you start wood carving. Remember, every piece of wood has its unique qualities and features hence the importance of knowing it. Use these features to your advantage. Keep the centerline since it helps you keep the face symmetrical.
The wood spirit design, in plan form
Sketch an idea for your wood spirit on paper using a pencil or marker. Decide on elements of nature you would like to combine with human features to create your wood spirit character. That is what makes each wood spirit different from the rest. You can also find patterns online free at Carvingpatterns.com for free.
Lay the pattern on the wood and go over it with a revolving multi-pointed pricker or a ballpoint pen. Make sure you put a mark on all the essential junctions in the design. Sometimes the rotating pricker is too small to see.
Attach the pattern to the wood using a tack spray adhesive. Make sure that the wood pattern is bonded all over the work. If you hit a dry spot, the pattern tears, and you lose the design.
Make sure your tools are sharp. If your carving tools are not sharp, you rip the paper and ruin the pattern. If your carving tools are not sharp enough to carve through a paper pattern, they are not sharp enough to cut wood in many situations. Do not wait till you have a torn wood pattern.
If the above method fails to work, print out the pattern in reverse on a copier or laser printer, and lay the pattern side down on the wood. Pour some acetone over the paper since it releases the ink and transfers it to the wood. Wear gloves and protective wear.
Mark out your spirit
Draw the center line and mark the location of the hairline. As you start carving, the locator may change depending on how the whole carving goes. If it works well, use a general guide. Decide where the brow and the bottom of the nose will be, and make cuts for those.
Cut out the design
Make or download any design you desire, make your wood carving and woodturning art. As you carve woods, try to match the target shape, and that is why you need to trace it out to avoid changing the item in many ways.
Draw the pattern in reverse, go over it in soft pencil, put the pattern pencil side down on the wood, and rub the paper. That is how the pencil pattern transfers to the tracing paper. Lay the pattern on the wood over a sheet of carbon paper and trace it over the wood pattern. The carbon paper transfers the wood pattern to the item.
Carve
Start developing the face from the positions of the brow and the bottom of the nose. You might not use a pattern. Sometimes you carve by instinct, but that is for experienced carvers.
A pattern guides you and informs you when a mistake is made. Some features develop as you carve. If you know how to draw the features of a face in their exact positions, carving a face comes naturally.
If you do not know how to draw features of a face, practice before attempting to carve one. Use a pattern so that you do not take time and waste material. On larger carvings, consider using large-high-quality chisels and a mallet. Blocks, like Cedar, need to be secured to the work surface by clamping before you start using the tools.
Roughout the wood spirit with the chisels. Always take time to check progress to see if all is going as planned. That allows you to make adjustments before it is too late. Pausing also helps you decide where and how to make the next cuts. After completing the basic profile, start adding the details. These include mounds for the eyes and a bit of detail to the nose.
Sand
Sand your wood spirit using light grain sandpaper until smooth. Finish it with a clear coat of varnish or acrylic paint to add color. However, the natural look fits the wood spirit motif better for some users.
Adding the details
At this stage, when the hairline is in the wood, start carving details into the beard using a V-tool. Avoid straight cuts with the V-tool when detailing the beard. You should follow the flow of the hair.
Make the piece interesting by allowing the hair to flow around the protruding limb. Carve a few wrinkles in the forehead and sand everything smooth. Get rid of any splinters.
Adding the final touches
When satisfied with your carving, apply paint, stain, or a clear coat to seal your work. Acrylic paint on eyes and beard before sealing the wood spirit with a clear coat makes the wood spirit look nice. On the eyes, you may use the wood paint at full strength.
For the rest of the beard, try darkening the wood slightly more than the natural wood. When you apply the acrylic paint, wipe it off immediately. Leave behind a little more wood paint in the hard-to-reach V-tool cuts for a lighter stain on the raised areas of the beard.

- Grain and Sheen: Teak Oil versus Danish Oil Uncovered - January 10, 2024
- The Cherry on Top: Crafting the Perfect Cutting Board - January 9, 2024
- Polyurethane Water-Based vs Oil-Based: Choosing the Right Finish - January 8, 2024