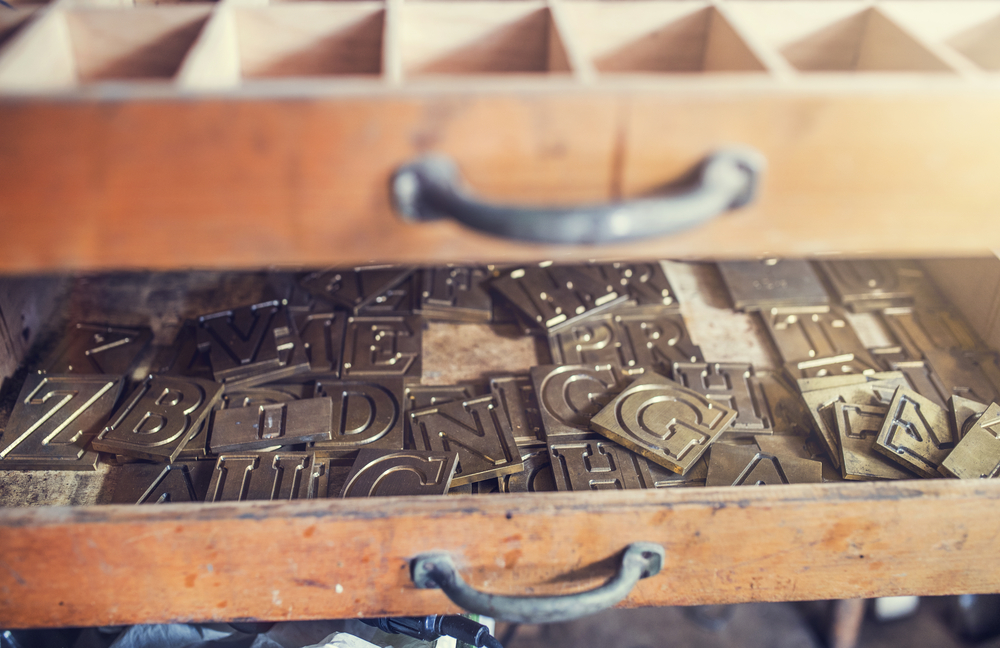
What is engraving letters into wood
Wood engraving is a relief printmaking, whereby an artist uses engraving tools to make incisions on the surface of an end-grain woodblock. There are three types of engraving: CNC Engraving, rotary engraving, and diamond drag engraving.
Engraving letters into wood is done when smaller, although some techniques will take longer. Wood images and letters are carved on wood using an engraving tool. Wood engraving can be small compared to lino cutting. A smaller size can contain a far more detailed or complex composition, making it easy to print without a press.
Engraving produces images in artistic printmaking, mapmaking, and also for commercial reproductions and illustrations for books and magazines. Engraving requires minimal maintenance requirements.
Some woods perform best for this process, while others do not. That is why choosing the perfect wood piece is a requirement for engraving. To start wood engraving, you only need a block, tint tool, Scorper, sharpening stone, sandbag, Ink, roller, and Burnisher.
This article will take you through wood preparation, designing letters, and engraving the letters until the finishing stage.
Preparing the Wood
Choosing the right type of wood
For engraving, choose a versatile material, uniform types of wood with the right resin content and less streaking. Streaking is an area on the wood that looks like a dark stain smudging the lighter wood. Woodworkers take the streak to give the wood more character and incorporate it into the design. When working with lasers, minimal streaking ensures better detailing. Wood with high resin content burns darker because the laser beam burns the sap. Lower resin woods have less burning, resulting in a lighter cut.
Oak is for engraving, but you can still make a choice. It is for its high strength and hardness. Maple has a great texture, a fine, close grain, and a light surface that will burn dark, giving you brilliant contrast. Plywood is quite versatile in woodworking which is better for laser engraving surfaces.
Wood can be one of the most challenging materials to laser engrave due to the inconsistencies in engraving wood. Amongst the qualities to look for in selecting wood for engraving are resin content, color, and grain. Lightweight wood with minimal streaking will produce high-quality and attractive engravings.
Some of the best woods for laser engraving include Plywood, Alder, Douglas, Balsa, Fir, and Cork. The wood’s resin content determines whether your engraving will become light or dark. Hardwoods are more challenging to burn, making it easier to deal with softwoods (Tfwc.co.za).
Sanding and smoothing the wood surface
Look at your wood and identify whether it is sanded or smooth. If not, start sanding the surface of the wood with medium grit sandpaper to remove the dust, debris, and dirt from the wood surface. Clean the dust with a tack cloth.
Start with lower-grit paper and work until the piece is as smooth as your preference. Do not sand a divot into the wood piece; stay on the plane—sand with the grain of the wood. When using a rotary tool, the sanding action goes with the grain, not across it.
Marking and measuring the engraving area
What determines precision in the engraving are the measurements of the engraving area. Accubeam Laser utilizes an advanced Laser Triangulation System to scan the surface for wood measurements to ensure depth requirements are met (Accubeam.com). Depth requirements are required on parts exposed to harsh conditions or where requirements must be met. It can reach depths with any material, including stainless, titanium, and tool steel.
Designing the Letters
Choosing the font and size of the letters
Block font is the most simple font for engraving. It is also the easiest font to read. Block font is ideal for personalizing your gift and a subtle display. It is for engraving a company name on the pen alongside your logo.
Take the time to choose wisely the font for the personal touch, which can determine the right fit with the recipient; based on their personality or the style of product you are getting engraved. Choose the right font for the right product to ensure it is readable.
Before choosing a font, consider the size of the engraving. How big or small will the text be, and how much space do you have to reserve? Ensure you get the message across. The size depends on the text and the area available, text can be sized to fit best.
Transferring the design onto the wood
Print out a design from the computer to your desired scale. Put the printed design face down onto the wood and secure it with masking tape. Turn your paper over so the printed-out design is facing down. Use a regular pencil and heavily shade over the outline of the design showing through the back.
Dab the paper with acetone. That will transfer the printed design onto the wood or flip your design back over and secure it into place on top of your wood using masking tape. Start tracing over the wood design with your pencil, pressing down the pencil as you trace.
You can also draw the pattern in reverse, go over it in soft pencil, put the pattern pencil side down on the wood, and rub the paper. The pencil pattern will transfer to the paper. Lay the design pattern on the wood over a sheet of carbon paper. Trace over the wood pattern. The carbon paper transfers the pattern to the wood.
Making adjustments and finalizing the design
Before running large batches of materials through the engraving machine, it highly verifies the engraved material meets your standards. If you are satisfied with the results, then you can start batch-processing. If not, make adjustments, and repeat this step until satisfied.
Engraving the Letters
Setting up and adjusting the engraving tool
Use the project preview screen in Design Space and move your design to the corresponding position. When working with thicker materials, always move the white star wheels on the roller bar to the right, giving clearance for thicker wood materials and ensuring you will not have track marks on your final project. Make sure the material is never wider than 11 inches.
When loading the engraving tool into the machine, do not press the button on top of the housing since that may cause the tip to release. The touchscreen interface makes it user-friendly. Select your project settings and get started. The machine has several built-in designs, so you can start creating immediately.
You can create different levels of depth and detail in your cuts, depending on what you are looking for. Prepare the text design in Design Space, the app for design purposes, and Load the design in SVG format or create a new one from scratch.
The settings for your engraver will depend on the type of wood you are using and the engraving machine you are using. Adjust the settings before you start engraving. The exact machine settings will vary depending on the engraving machine, so consult your user manual. The power settings on your laser engraver will determine how deep the engraving is. For most woods, use a power setting of 30-50%.
The speed setting will determine how fast the laser moves across the wood. A slower speed will produce a deeper engraving, while a faster speed will produce a shallower engraving. The frequency setting will determine how often the laser pulses. A higher frequency gives a finer engraving, while a lower frequency will produce a coarser engraving. The focus setting will determine how sharp the engraving is. A focus setting of 50-70% is sufficient.
Engraving the letters onto the wood
After gathering your engraving tools and materials and setting your design in place, transfer your selected design to the wood. You can freehand the pattern into the board while engraving, but this often results in a messy finish that lacks critical features.
Transfer any artwork or custom typefaces on the wood using graphite paper since it is simple to work with. Lay the piece down on the wood and sketch your pattern on it. The pencil transfers to the wood and creates an imprint as it pushes down the graphite paper.
The sharp edges of a hand tool provide the engraved letters you manufacture. Download letters online, and trace the pattern into the wood using the letter-carving templates you created. Hire a professional laser company to design and craft your masterpiece.
The smaller the letter, the more work you must do for the precise design to transfer well to the wood. Trace the design from the letter-carving templates you made onto the wood. Regardless of the tool, the proper angle helps get a concise line. Approach the wood with a consistent angle of 20 to 30 degrees so it will bite into the wood and not skip over the top.
Checking for mistakes and making corrections
Engraving mistakes can be a pain, but fixing misspelled words or names is essential. Fixing engravings is easiest for wood, unlike metal surfaces. Follow the first instructions to fix an engraving on a clean surface, such as glass or plastic, and the second instructions to fix an engraving on a colored surface, such as wood.
To fix the mistakes, start by inspecting the damage. Note the problem. If the engraving is misspelled, you might have to erase it. If there is a smaller mistake, you can fix it by engraving over it, adding to the design, or erasing a small part.
Clean the area with a degreasing cleaner and a soft cloth. Let the surface dry. Fill in any areas that you want to cover with clear casting resin. Fill the grooves slightly higher than the level of the base surface. Allow the resin to dry for 24 hours.
Sand the resin down to the base surface with fine-grit sandpaper. Outline a new design over the original design with a grease pencil, engrave the new design using an electric engraver, and work in a brightly lit area. Wipe away any dust with a soft cloth.
Finishing and Sealing the Engraving
Sanding and smoothing the engraving
Your project should be finished and sealed before laser engraving. Sealing prevents smoke staining of the wood unless this is an effect you desire. After engraving, you may lightly sand the surface and apply your final finish coats to seal the engraving.
Sand the surface with finer grit sandpaper for clean outlines of the engraving design. Use this technique for any detailed drawings. Sand your surface lightly so the work is smooth and the ink will not smudge.
Sanding can help to create a smooth surface for the laser to work on, but it also removes some of the wood’s natural oils and pigments, resulting in a lighter engraving. That is why you should test on a scrap piece of wood first. Use fine-grit sandpaper to avoid damaging the wood. With preparation, laser engraving can add a personal touch to your wood projects.
Applying a sealant to protect the engraving
Choose your sealer and finish. Your laser-engraved wood should be clean. Apply the sealer, and allow the sealer to dry. The best way to protect your engraving is to seal it with clear finishes such as polyurethane, lacquer, or varnish. That will not only help to preserve the wood.
Final tips for maintaining the engraving
While cleaning the optics, vent, table tray, and exhaust port are important maintenance steps, additional tips may be needed. Here are some additional tips for maintaining an engraving:
- Regularly check and tighten all screws and fittings: Over time, screws and fittings can become loose, affecting the accuracy of the engraving. Regularly check and tighten all screws and fittings to ensure optimal performance.
- Lubricate moving parts: Moving parts, such as rails and bearings, should be lubricated regularly to prevent wear and ensure smooth movement.
- Use proper cleaning materials: When cleaning an engraver, use materials recommended by the manufacturer to avoid damaging sensitive components.
- Store the engraving in a controlled environment: To prevent damage or fading, store the engraving in a controlled environment free from excessive heat, humidity, or direct sunlight.
Frequently Asked Questions (FAQs)
How do I choose the right type of wood for engraving?
Check the resin content. For a darker burn, opt for wood with high resin content, like Cherry or Alder wood, but for a minimal burn for a specific application, you may go for wood with lower resin content.
What are the best tools for engraving letters into wood?
Dremel is the best choice for wood engraving. A Circuit maker is better than the Dremel. Here are some additional considerations:
- Handheld rotary tool: A handheld rotary tool, such as a Dremel, can be a good choice for fine detail work or small letters.
- Laser engraver: A laser engraver can produce precise, consistent results and is suitable for engraving larger letters or designs.
- CNC router: A CNC router can engrave letters or designs into wood precisely and quickly.
- Woodburning tool: A woodburning tool can burn letters into the wood for a unique, rustic look.
How do I transfer my design onto the wood?
Draw the pattern reverse, go over it in soft pencil, put the pattern pencil side down on the wood, and rub the paper. The pencil pattern will transfer to the paper. There are additional considerations and alternative methods that may be helpful. Here are some additional tips:
- Use carbon transfer paper: Carbon transfer paper can be placed between the design and the wood and traced over to transfer the design onto the wood.
- Print and transfer using acetone: Print the design onto regular paper using a laser printer, place the paper onto the wood, then use acetone to transfer the ink from the paper to the wood.
- Use a stencil: If your design is simple and bold, you can create a stencil by cutting out the design on a piece of cardstock, then placing the stencil onto the wood and tracing the design onto the wood through the openings in the stencil.
- Use a projector: Project the design onto the wood and trace over it with a pencil or marker.
Can I engrave letters on already-finished wood?
Yes, it engraves well. Here are some additional considerations:
- Test the finish: Before engraving, test the finish to ensure that it can be engraved without chipping, cracking, or flaking.
- Choose the right engraving method: The best engraving method will depend on the type of finish and the size and style of the letters you want to engrave. Options include hand engraving, laser engraving, and rotary engraving.
- Prepare the surface: The surface of the wood should be clean and smooth before engraving. Sanding may be required to remove any rough spots or imperfections.
- Protect the surrounding area: Engraving can cause dust and debris, so it’s important to protect the surrounding area with a cloth or plastic sheet.
- Practice on scrap wood: If you’re new to engraving, practice on a piece of scrap wood before engraving the finished piece.
How do I protect and maintain the engraving?
Keep it clean, removing all the dust and leftover materials. Here are some additional tips:
- Apply a protective finish: A clear protective finish, such as a lacquer or varnish, can help protect the engraving from scratches and wear.
- Avoid direct sunlight: Direct sunlight can cause the engraving to fade over time. If possible, keep the engraving in a location not exposed to direct sunlight.
- Please handle with care: When handling the engraving, carefully handle it to avoid scratches or other damage.
- Use a soft cloth for cleaning: Use a soft, lint-free cloth to clean the engraving. Avoid using harsh chemicals or abrasive cleaners that can damage the surface.
- Store in a protective case: If the engraving is not on display, store it in a protective case to help prevent damage.

- Grain and Sheen: Teak Oil versus Danish Oil Uncovered - January 10, 2024
- The Cherry on Top: Crafting the Perfect Cutting Board - January 9, 2024
- Polyurethane Water-Based vs Oil-Based: Choosing the Right Finish - January 8, 2024