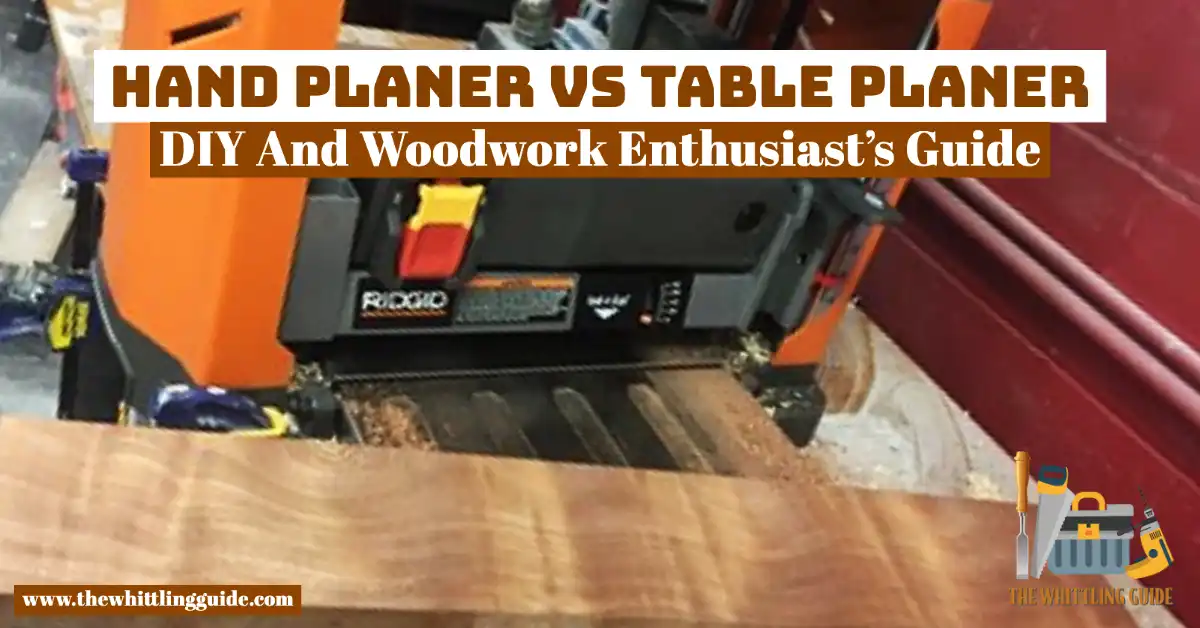
DIYers or a professional carpenters may need to choose between a hand planer and a table planer based on the job or budget. Knowing characteristics will help you decide which one you should buy. Hand planers are ideal for shaping, smoothing, and straightening wood. A table planer thickness planer can handle a large volume of lumber. This article looks at the features of each planing tool to help you make a choice. Let’s look at Hand planer vs table planer.
Hand Planer vs Table Planer
Hand planer Overview
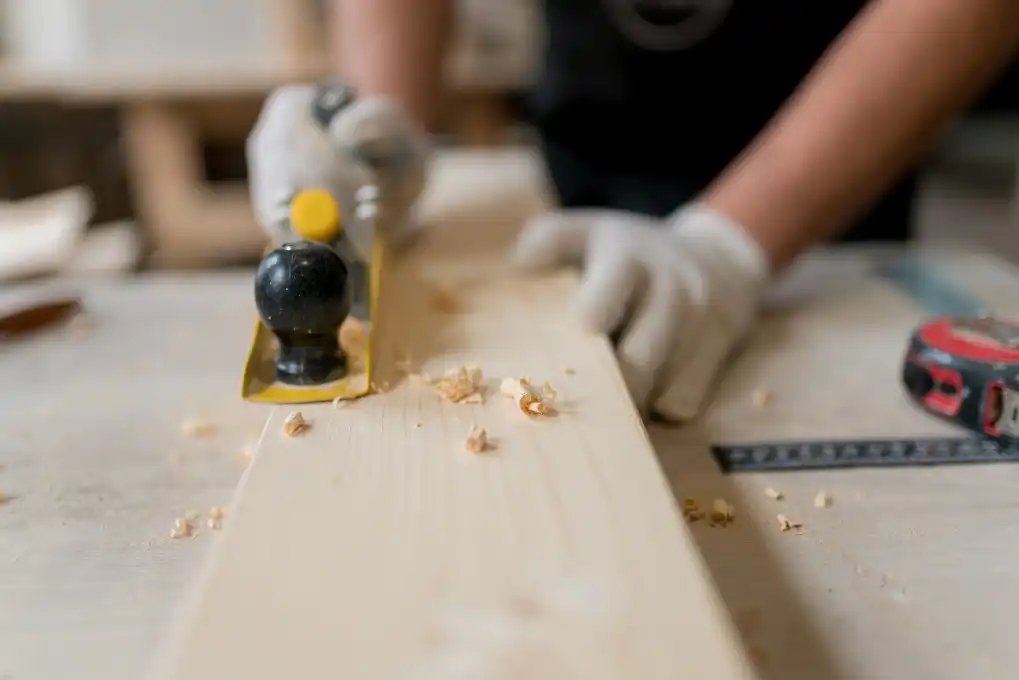
A hand planer is a tool used during woodwork whereby the operator uses both hands, manual force, and a steel blade. The blade is so thin that it flattens the edges and corners of the wood. It also smooths out frames. The hand planer works just like a wrench to a plumber.
When using it, grab the knob with one hand and the handle with another. That gives you the grip and steadiness needed to drive it seamlessly across woods. You can also adjust how deep the steel blade cuts through from the knob.
The handle planer is handy, allowing it to fit into a small tool kit. There are two kinds of hand planers: a manual hand planer and an electric hand planer.
Use a hand planer to achieve a smoother wood surface, trim off swollen corners of a stuck door for smaller wood pieces with heightened accuracy, make radius cuts, create a symmetrical slope plane, and work on parallel wooden surfaces such as tables and doors or frames. One of its advantages is its portability and using electricity or installation.
Pros
- Ease of use
- Portable
- You can use it anywhere
- No installation needed
Cons
- A wrong move results in injuries and accidents
- Requires physical labor
Table planer Overview
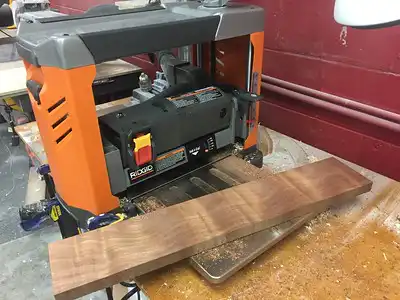
A bench planer is a tool that flattens uneven wooden surfaces. It works better for bulkier wood. The bench planer smoothens surfaces and creates a better surface. The bench planer is not a pocket-sized tool.
It is heavy, and you have to exercise more caution when attempting to carry one. The bench planer comes in different sizes and widths. The wider ones get done in a shorter time. A bench planer ranges between 9 to over 22 inches in length. Its construction features a sharp blade beneath it, slanted about 45 degrees, making sharpening and smoothening possible.
There are three types of bench planer: the jointer, the smooth, and the jack plane. The jointer is over 22 inches long, making it the form of a table planer. It works on longer boards and tougher lumber work. The smooth planer is within 9 to 10 inches in length and takes out uneven spots on furniture. The jack planer is about 11 to 17 inches in length. It takes out twists and edges on boards.
It is one of the best tools when taking on DIY woodwork projects or home renovation plans. Compared to the hand planer, it has a wider surface and can produce more accurate results. It achieves more accurate results and works on poor wood, rough edges, and chunky lumber.
Pros
- More accurate results
- Works on poor wood and rough edges
- Works for chunky lumber
- Ideal for home renovations
Cons
- It is heavy
- It leaves some rough edges
Features
Hand planer
Blade
Always keep the blade sharp so that the planer cuts. It does not matter if it is still new. It has to be razor-sharp before you put it to use. You do not need more tools and a flexible budget.
Amongst your tools is a sharpening stone or sandpaper. You only need practice holding the iron steady at a 25- to 30-degree angle without rocking it, maintaining firm, downward pressure right over the bevel.
Sharpen first on a wet medium-grit water or oil stone or 220-grit wet/dry sandpaper placed on a dead-flat surface, such as glass. Stroke with a circular motion until you feel a burr on the back of the edge, then flip the iron over to remove the burr by rubbing the back flat on the stone. Repeat the process on a fine stone or finer-grit sandpaper.
Depth Adjustment Wheel
It adjusts the projection of the iron, which affects the depth of cut and the amount of material removed. Turning it clockwise increases the cutting depth; turning it counterclockwise reduces it.
Lever Cap Screw
Turning the depth adjustment wheel becomes easy. It holds the blade/chip breaker assembly to the frog. Make sure it is tight enough that the blade remains sturdy during use. When not sure, start with less pressure than you think is necessary and increase it only if you see the blade shifting during use.
Frog
The cast metal frog on each model holds the entire cutting iron assembly comprising both cutting and cap irons (Paulsellers.com). It is attached to the iron body of the plane with machine screws, holding the blade/chip breaker assembly at the cutting angle. It adjusts forward and back to fine-tune the gap between the blade’s cutting edge and the front of the mouth. Adjust laterally for the cutting edge to be square to the sole.
Table planer
Bed
The bed is a rigid part of the machine (mechanical booster.com). It is a box-like cast iron casting with cross ribs. It is large and heavy in weight, and the bed supports the column and moving parts of the machine. The length of the bed is twice the length of the table, allowing the table to slide on it.
Table
The planer has a single table or two separate tables mounted on guideways. The table is a rectangular cast iron casting having a machined top surface to locate the work. There are slots on the length of the table to hold the work and holes drilled on its surface. At each end of the table, there is space to collect the chips and a groove on its side for clamping planer reversing dogs at different positions.
Housing
Housing is a rigid box-like vertical structure fastened on each side of the bed. It is also known as uprights. The front face of each housing has ways for sliding the cross rail up and down, and two side tool heads slide upon it. The column houses the cross rail elevating screw.
What could be better
Hand planer
- Manual work requires more effort and high accuracy. Due to its portability, you can easily have accidents of any unintended moves. More weight on the planer could have been easier to work with.
- It could have been a bit advanced.
Bench planer
- It could have been portable.
- It could have been effective enough to remove all rough edges on the pieces.
Similar Features
- Both level off lumber.
- They need experience.
Key Differences
- Bench planers tend to be more expensive than hand planers. The bench planer has a wider planning area than the hand planer.
- The hand planer works on smaller pieces that require extra attention than the bench planer works on large lumber.
The verdict
The hand planer is for precision on smaller woodworks, while the bench planer is for any significant carpentry project. If you intend on making your furniture, a bench planer works better. A hand planer is for maintenance and site work. They are both great tools and offer unique benefits. Go for one that would help you achieve your desired piece.

- Grain and Sheen: Teak Oil versus Danish Oil Uncovered - January 10, 2024
- The Cherry on Top: Crafting the Perfect Cutting Board - January 9, 2024
- Polyurethane Water-Based vs Oil-Based: Choosing the Right Finish - January 8, 2024